
Whether you love ivy climbing your walls or hate its very presence, we can all agree it’s one of the clingiest plants out there. And when this ‘hanger-on’ starts having a negative impact on your walls and fences, it’s time to learn how to kill ivy roots. And that’s exactly what we’re about to find out.
Whether you want to remove ivy from a house or kill ivy on a fence, the core of the problem starts at the roots. Like a Hydra, cut off one head and more will appear, so we need to deal with the issues directly.
Luckily, I spoke to the pros who revealed the best way to kill ivy roots. Using a combination of manual labour and herbicides, all you need to do is follow these five easy steps.
(Image credit: Future PLC/ Polly Eltes)
What you need
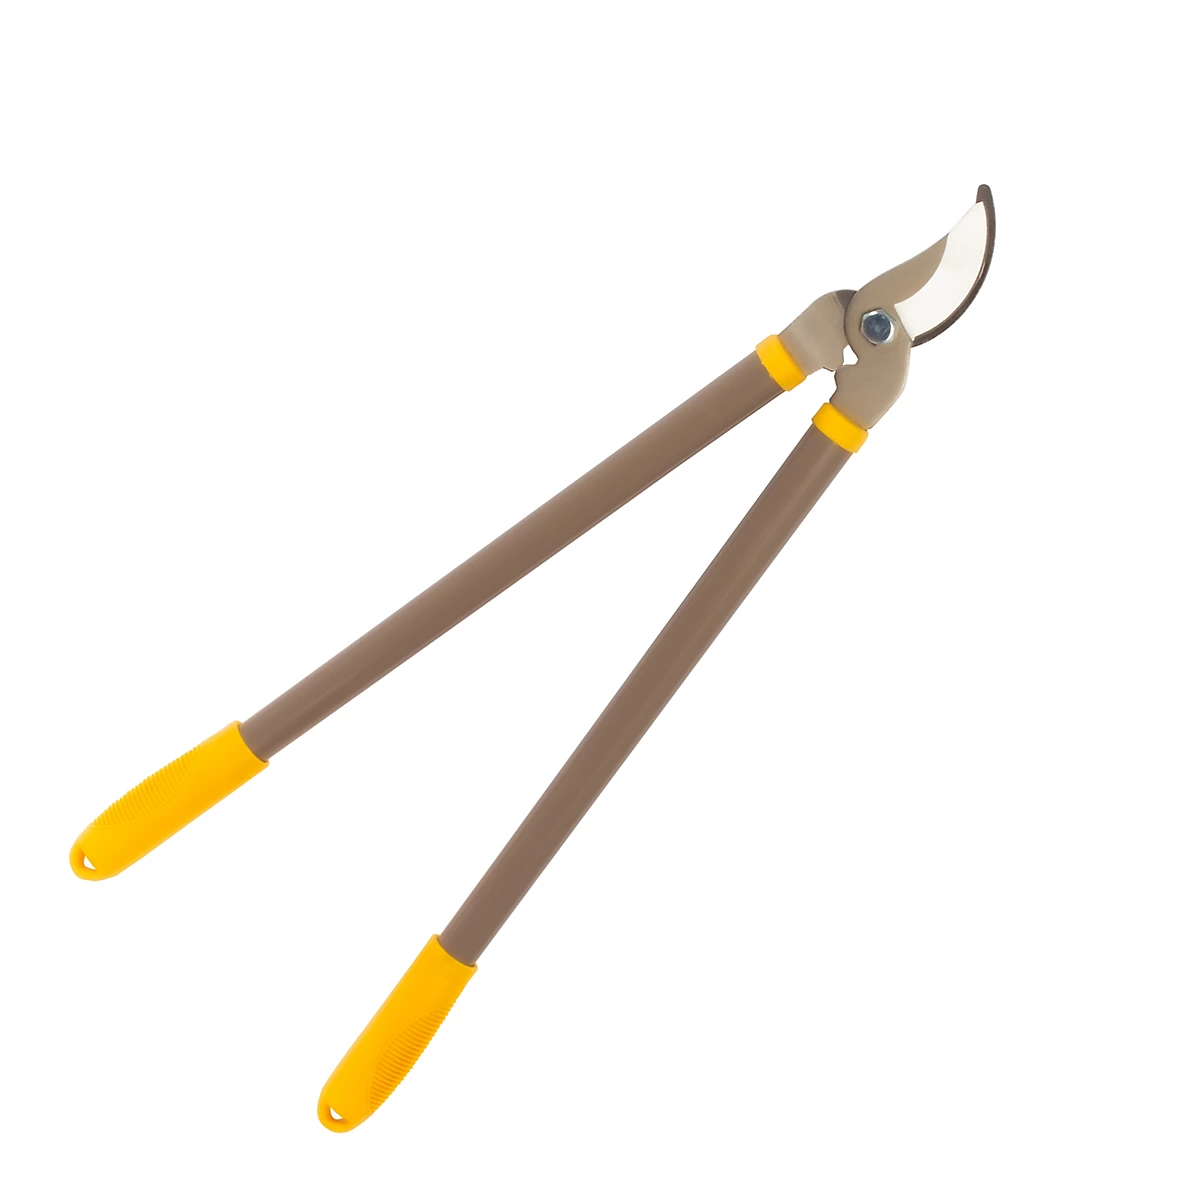
You need a pair of garden loppers to help cut back the ivy.

Pine Tree Tools
Pine Tree Tools Gardening Gloves
Ivy can irriate the skin, so make sure you wear gardeing gloves during the task.
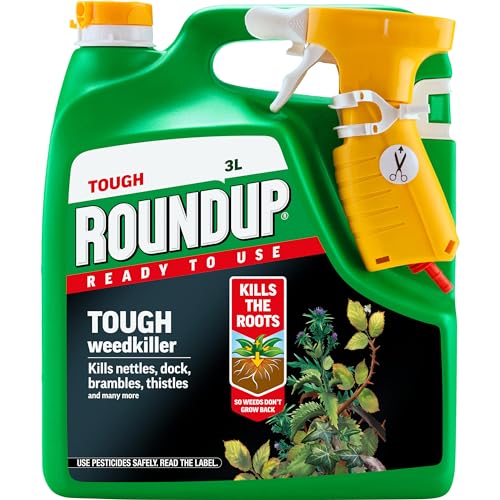
Roundup
Roundup 3l Xl Tough and Deep Root Weedkiller
You’ll need a good herbicide to treat the roots and stop ivy coming back for good. This one tackles deep rooted and woody weeds like ivy. This one is highly reviewed on Amazon, but like all weedkillers, you should read the label before use and keep this product away from children and animals.
Step-by-step
1. Cut back the ivy
First things first, you want to cut back as much of the existing ivy as you can, to give yourself more room to remove the roots at a later step.
‘Use garden shears or loppers to cut the ivy stems close to the ground. If the ivy is climbing, cut it at the base and allow the top growth to die before pulling it down (this avoids damaging structures or trees),’ says Luke Newnes, new build gardening specialist, gardening content creator and a member of the Interior Squad at Hillarys.
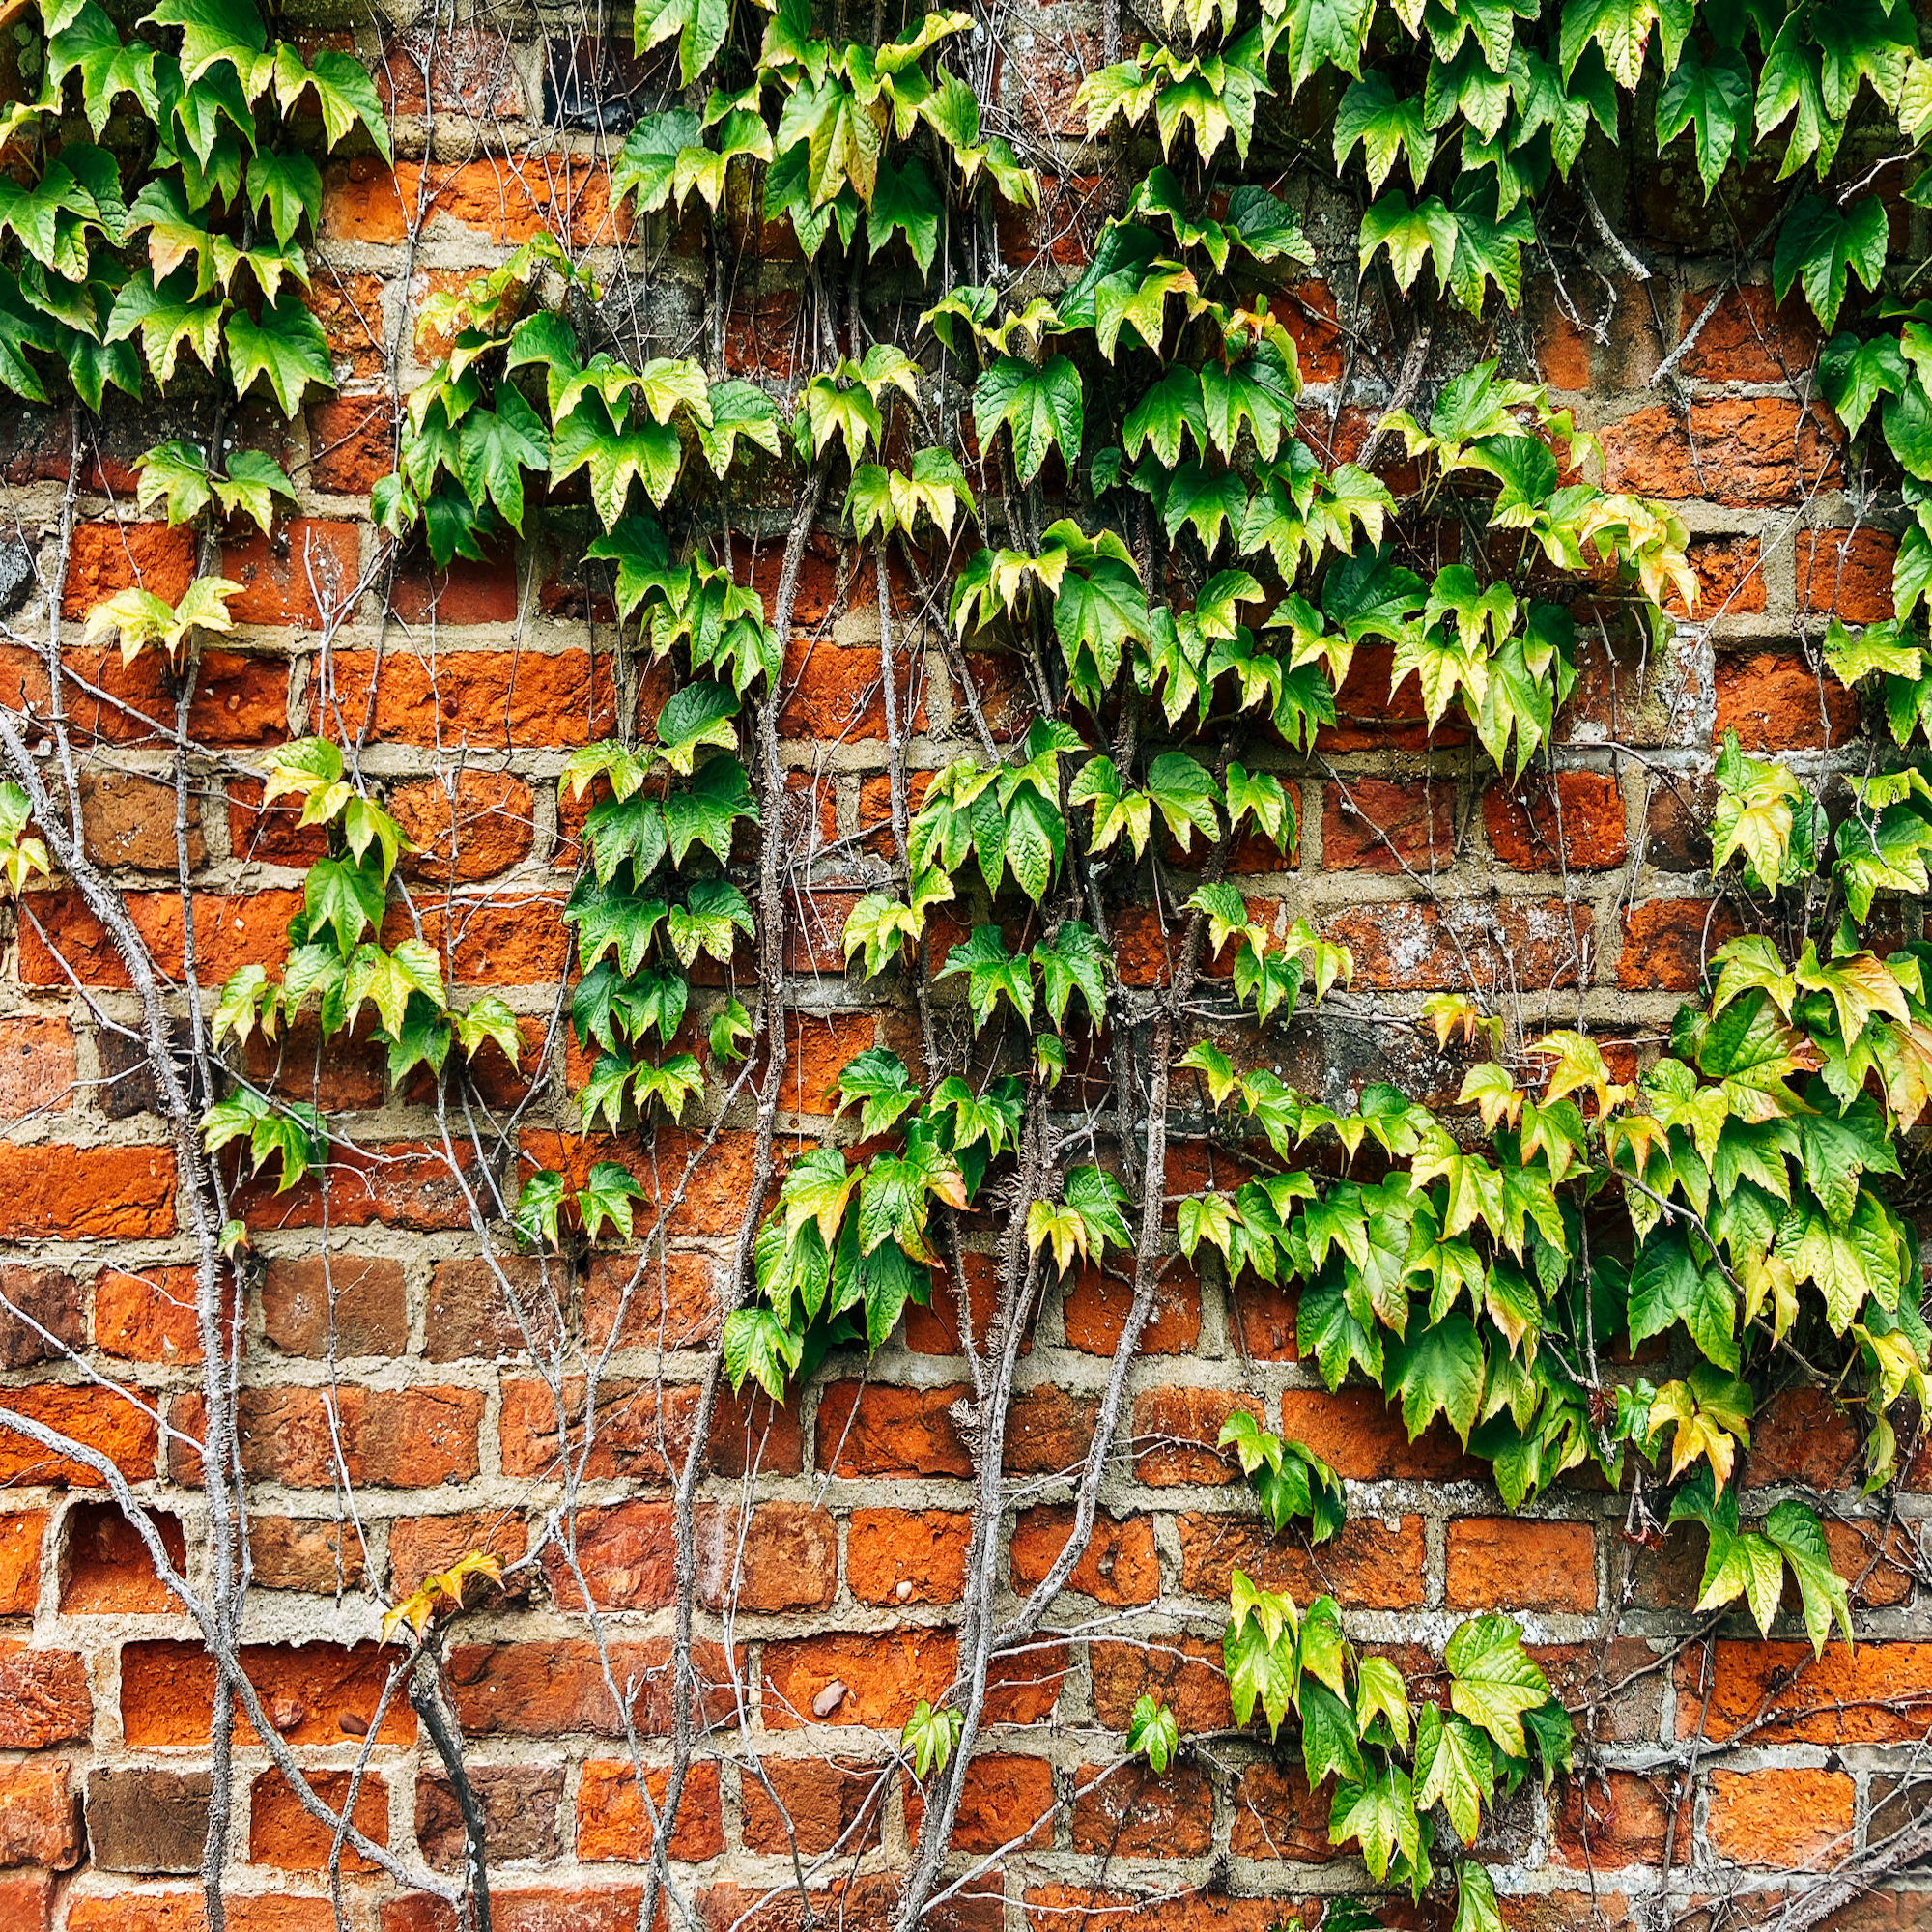
(Image credit: Getty Images)
2. Remove surface growth
Next, you want to clear all the surface growth from the affected area. Pull up as much of the ivy as you can, such as runners and any visible roots you can see. This is more intense than cutting back ivy, as you are looking to remove as much of the plant as you can visibly see.
‘Always wear gloves, long sleeves and long trousers when cutting ivy plants. Use secateurs, and even loppers, if the stems are woody, close to ground level, if there is a large area of growth along the ground, a lawn edging tool may be useful to chop it up into manageable pieces,’ advises Jane Fairlie, Technical Manager at Doff Portland.

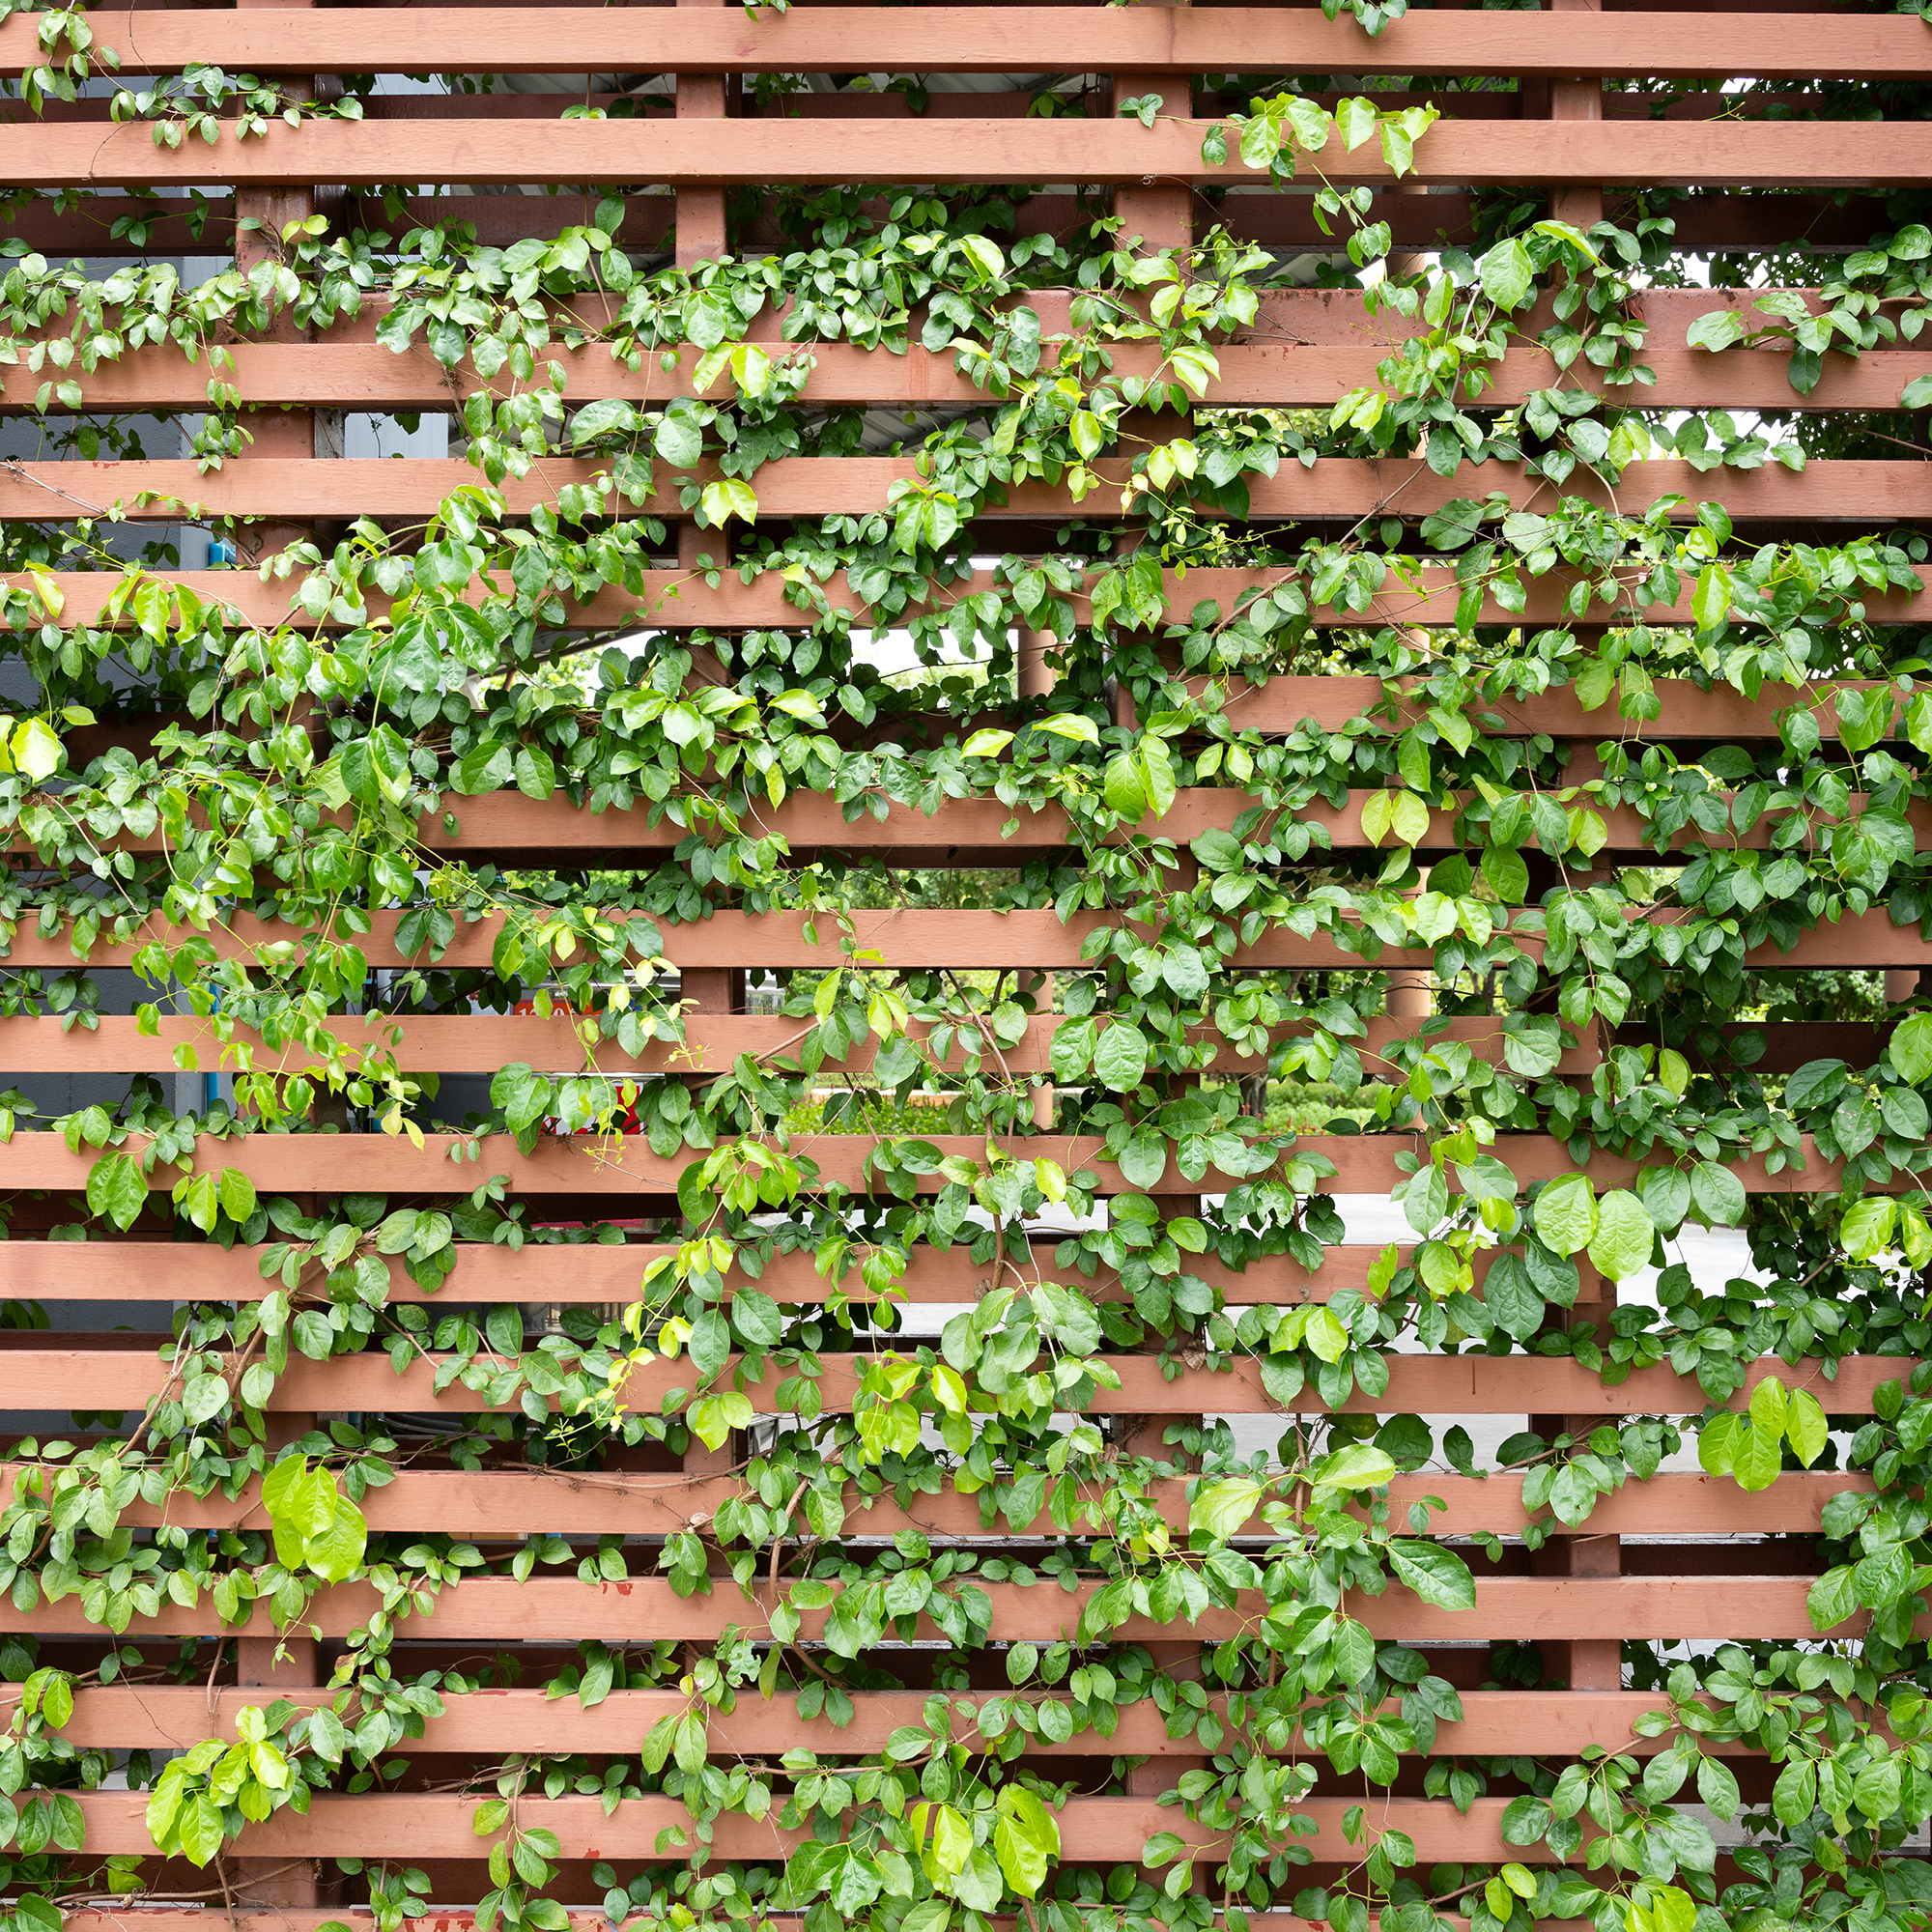
(Image credit: Future PLC)
3. Dig out the roots
‘Use a garden fork or spade to dig up the soil where the ivy was growing. Try to remove as many roots as possible, as even small pieces can regrow,’ says Luke.
If you’re removing ivy from a fence or wall, cut the stems close to ground level and leave the ivy on the wall to go brown and die.
(Image credit: Getty Images)
4. Apply a herbicide
A herbicide is a chemical that is commonly used to kill weeds, and you’ll need to apply it to the roots of your ivy.
‘Systemic weedkillers such as Glyphosate-based or Triclopyr ones are best for the control of regrowth, but may need several applications for complete control. As soon as the stems have been cut, it is important to apply the weedkiller straight away to be as effective as possible. Dilute and apply as per label instructions. When spraying it is best to apply to the underside of the leaves where there is no waxy coating, which delays uptake by the ivy,’ says Jane.
(Image credit: Getty Images)
5. Monitor and repeat treatment
‘Ivy can be persistent. Check the area every few weeks and remove any new growth promptly. Repeat herbicide application if necessary,’ Luke explains.
‘This method is effective because it combines physical removal (which immediately reduces biomass and root reserves) with chemical control for any roots or fragments left behind. Ivy is tenacious and can regrow from small root pieces, so a combination approach ensures the best long-term results. Manual removal also reduces the amount of herbicide needed, making it more environmentally friendly.’
If ivy has outstayed it’s welcome in your home and garden, these easy steps will help you say goodbye to it for good.