
This is one of my favorite crafts in a long time! I wasn’t quite sure how it
was going to come together during the process, but I couldn’t love the
finished product more. 🙂
Best part is, I saved about eighty bucks making it on my own. YES.
That was 8-0:
This post may contain affiliate links for your convenience.
I may earn a small commission when you make a purchase through links.
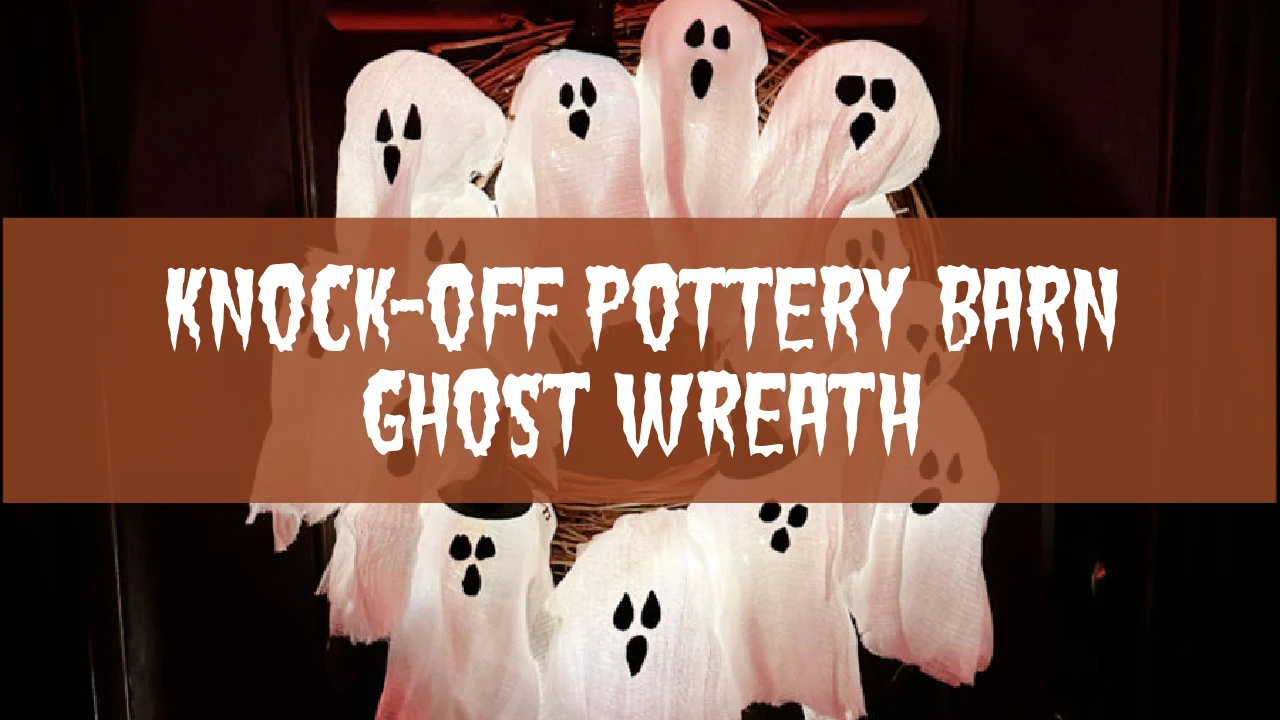
When I saw it weeks ago, I knew this would be a cute DIY project that I
could do for WAY less than the Pottery Barn version.
And then every single person on the internet did the same thing. 😂 OH
WELL. I’m still sharing my version!
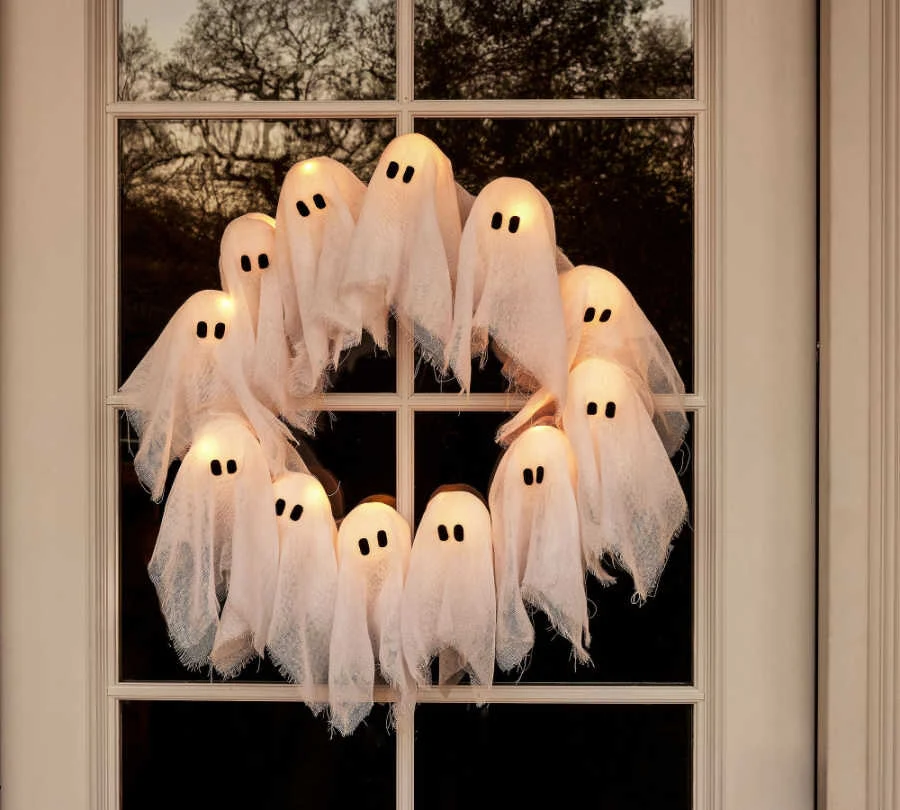
The Pottery Barn version measures 24 inches across, and when all the
little ghosts were attached, mine is was the same size.
Did I mention the PB original costs $90?
That’s…nine zero. I had most of my supplies on hand so I only
spent $12 for mine. But even if you have to buy all of the supplies, it
will be a fraction of the cost!
few more helpful details:
-
You can use just about anything for your wreath form. There are
wired versions, inexpensive wood/MDF wreath bases, or even taping a
pool noodle together will work! I used a grapevine wreath that we
already have — I take things on and off of these all the time for
the seasons. They are so easy to work with. -
I used a mixture of medium and large clear ornaments — five of the
large and eight medium. Mine were from Hobby Lobby (half off), but
you can find them at almost any craft store this time of year. -
I purchased foam balls to try out as well, but I’m glad I ended up
with the plastic ornaments. Placing the lighting inside the bulbs
makes this look even better! (The foam will cost about half of the
ornaments though.) -
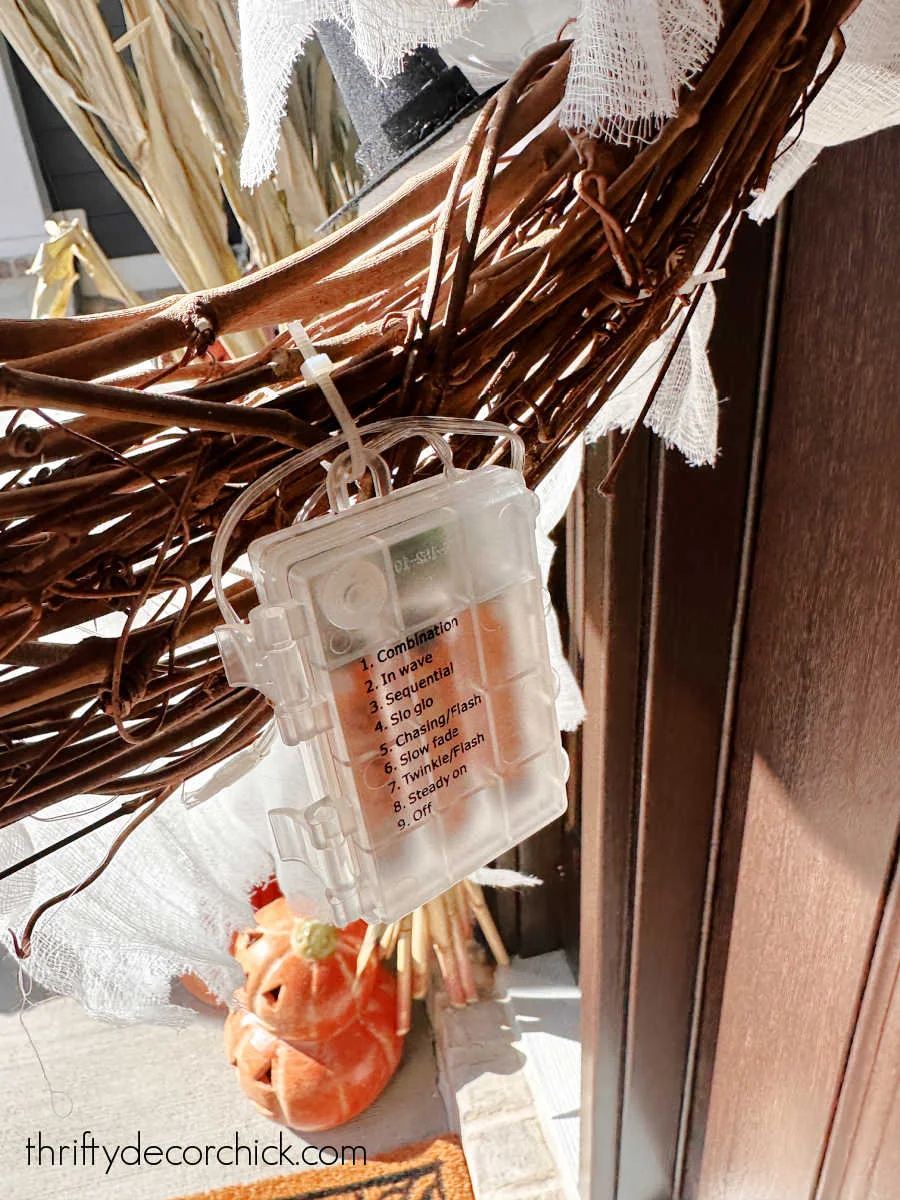
You can use any battery-operated wired lights, but I chose
this long strand that comes with a remote and timer. That way we don’t have to turn them on and off every night. Just
turn them on when the sun goes down and then set the timer for how
long you want them to stay on every evening. -
I attached the battery pack on the back of the wreath with another
zip tie. This also prevents the wreath or zip ties from scratching
up the door:
I absolutely LOVE how this one turned out! It’s adorable and looks
great even from the street at night:
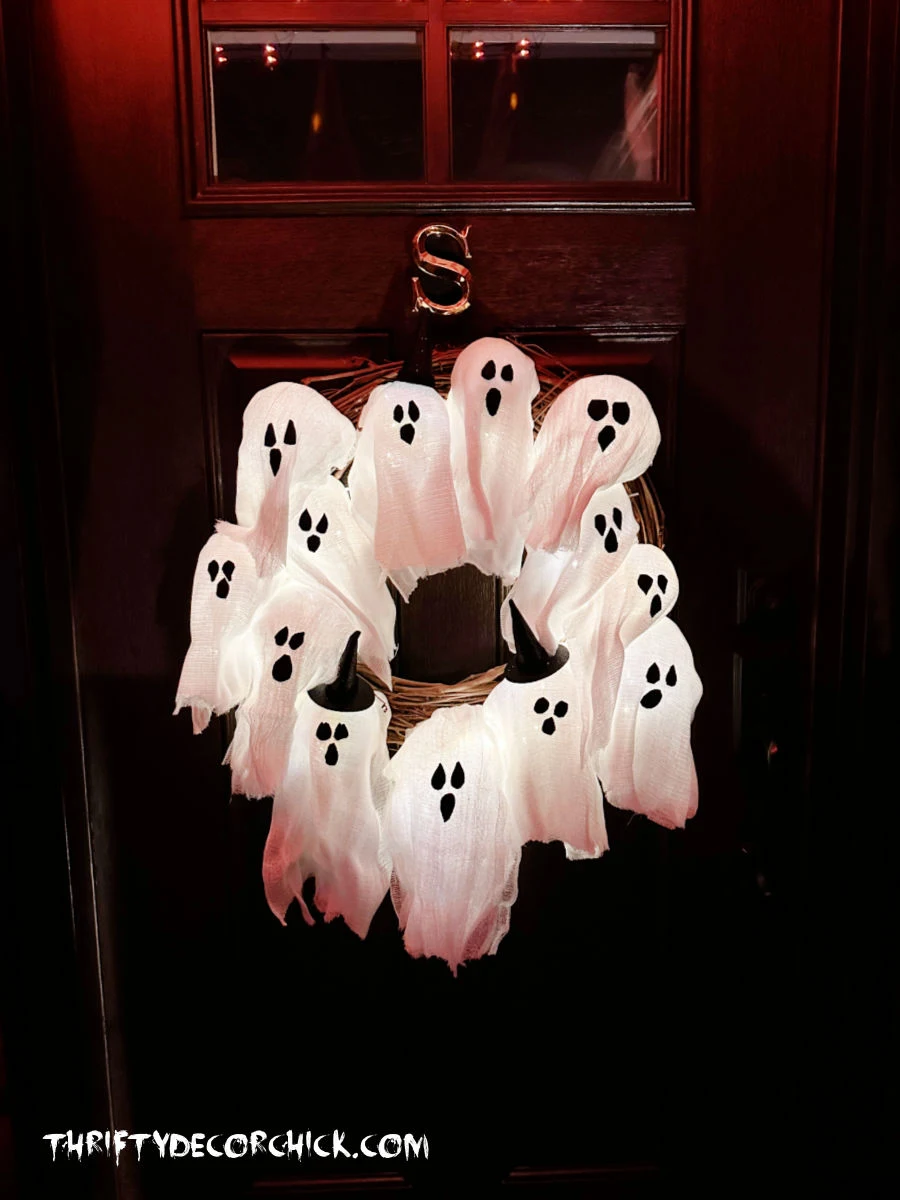
Mine has a bit more personality too — I added a few tiny witch hats I had in
my craft stash. You could have so much fun with the faces and details!
Here’s a full list of the items I used to make this DIY light up ghost wreath:
If you’re starting from scratch with your supplies, a finished ghost wreath my
size will cost around $30, but with discounts and sales could be significantly
less! The light strands are the most expensive item, but most I’ve purchased
come with a few strands per order.
This would also be adorable in a mini version — what a cute idea for a crafty
get together. If you used a smaller wreath with smaller clear ornaments it
would be at least half of the price.
I saved about $78 by DIYing my own version of this wreath, so it was worth the
hour or so it took to make it. Have you seen this DIY
floating around the internet
lately?