
How to build a wood burning stone fire pit on top of a concrete patio.
There are a few safety issues to consider when building a DIY fire pit on a concrete surface. I’m sharing the how-to here!
Years ago we had a large patio poured in our back yard. The best part was a 14 foot circular fire pit area we designed off to one side.
One big project I had to hold off on was the DIY fire pit. The concrete contractors advised we wait a bit because the stone for the pit is so heavy. The patio had to cure for a couple of weeks.
Before I started, we got a quote for a small stone retaining wall around the circular fire pit area as well as a fire pit with stone that matched our house. The quote came back at almost DOUBLE what the entire PATIO cost. Lordt.
Soooo we decided to do it ourselves with a kit and it was crazy easy. It doesn’t look custom, but it does the job…burns wood. 😉
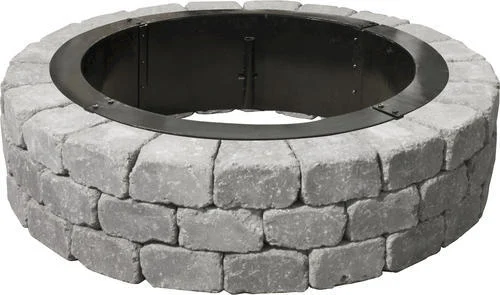
It is 3 1/2 feet wide and was under $200. WAY better! It comes with the stones, glue and the metal ring.
I figured it would be easy to build, but it was even easier than I thought! I’ll share some specific tips at the end of the post, but here are the basic steps.
This post may contain affiliate links for your convenience.
I may earn a small commission when you make a purchase through links.
I put the ring together first, and centered it on the hole the construction crew added for the pit:
I realized after I was done that it wasn’t centered at all but OH WELL.
Our concrete company included that small hole so they could add a drainage pipe — brilliant! Any water drains out to the back of the patio. If you are adding a patio with a fire pit, I highly recommend this!
The instructions called for 20 stone wedges on the first ring, but I only needed 19. If I had added one more I think it would have been too wide for the metal insert:
Quick tip — when I started that base ring of stones, I was butting the sides up to each other completely, which made for too small of a ring.
I had to pull them out quite a bit and only place the long ends against each other so it made the circle bigger. Hope that makes sense!
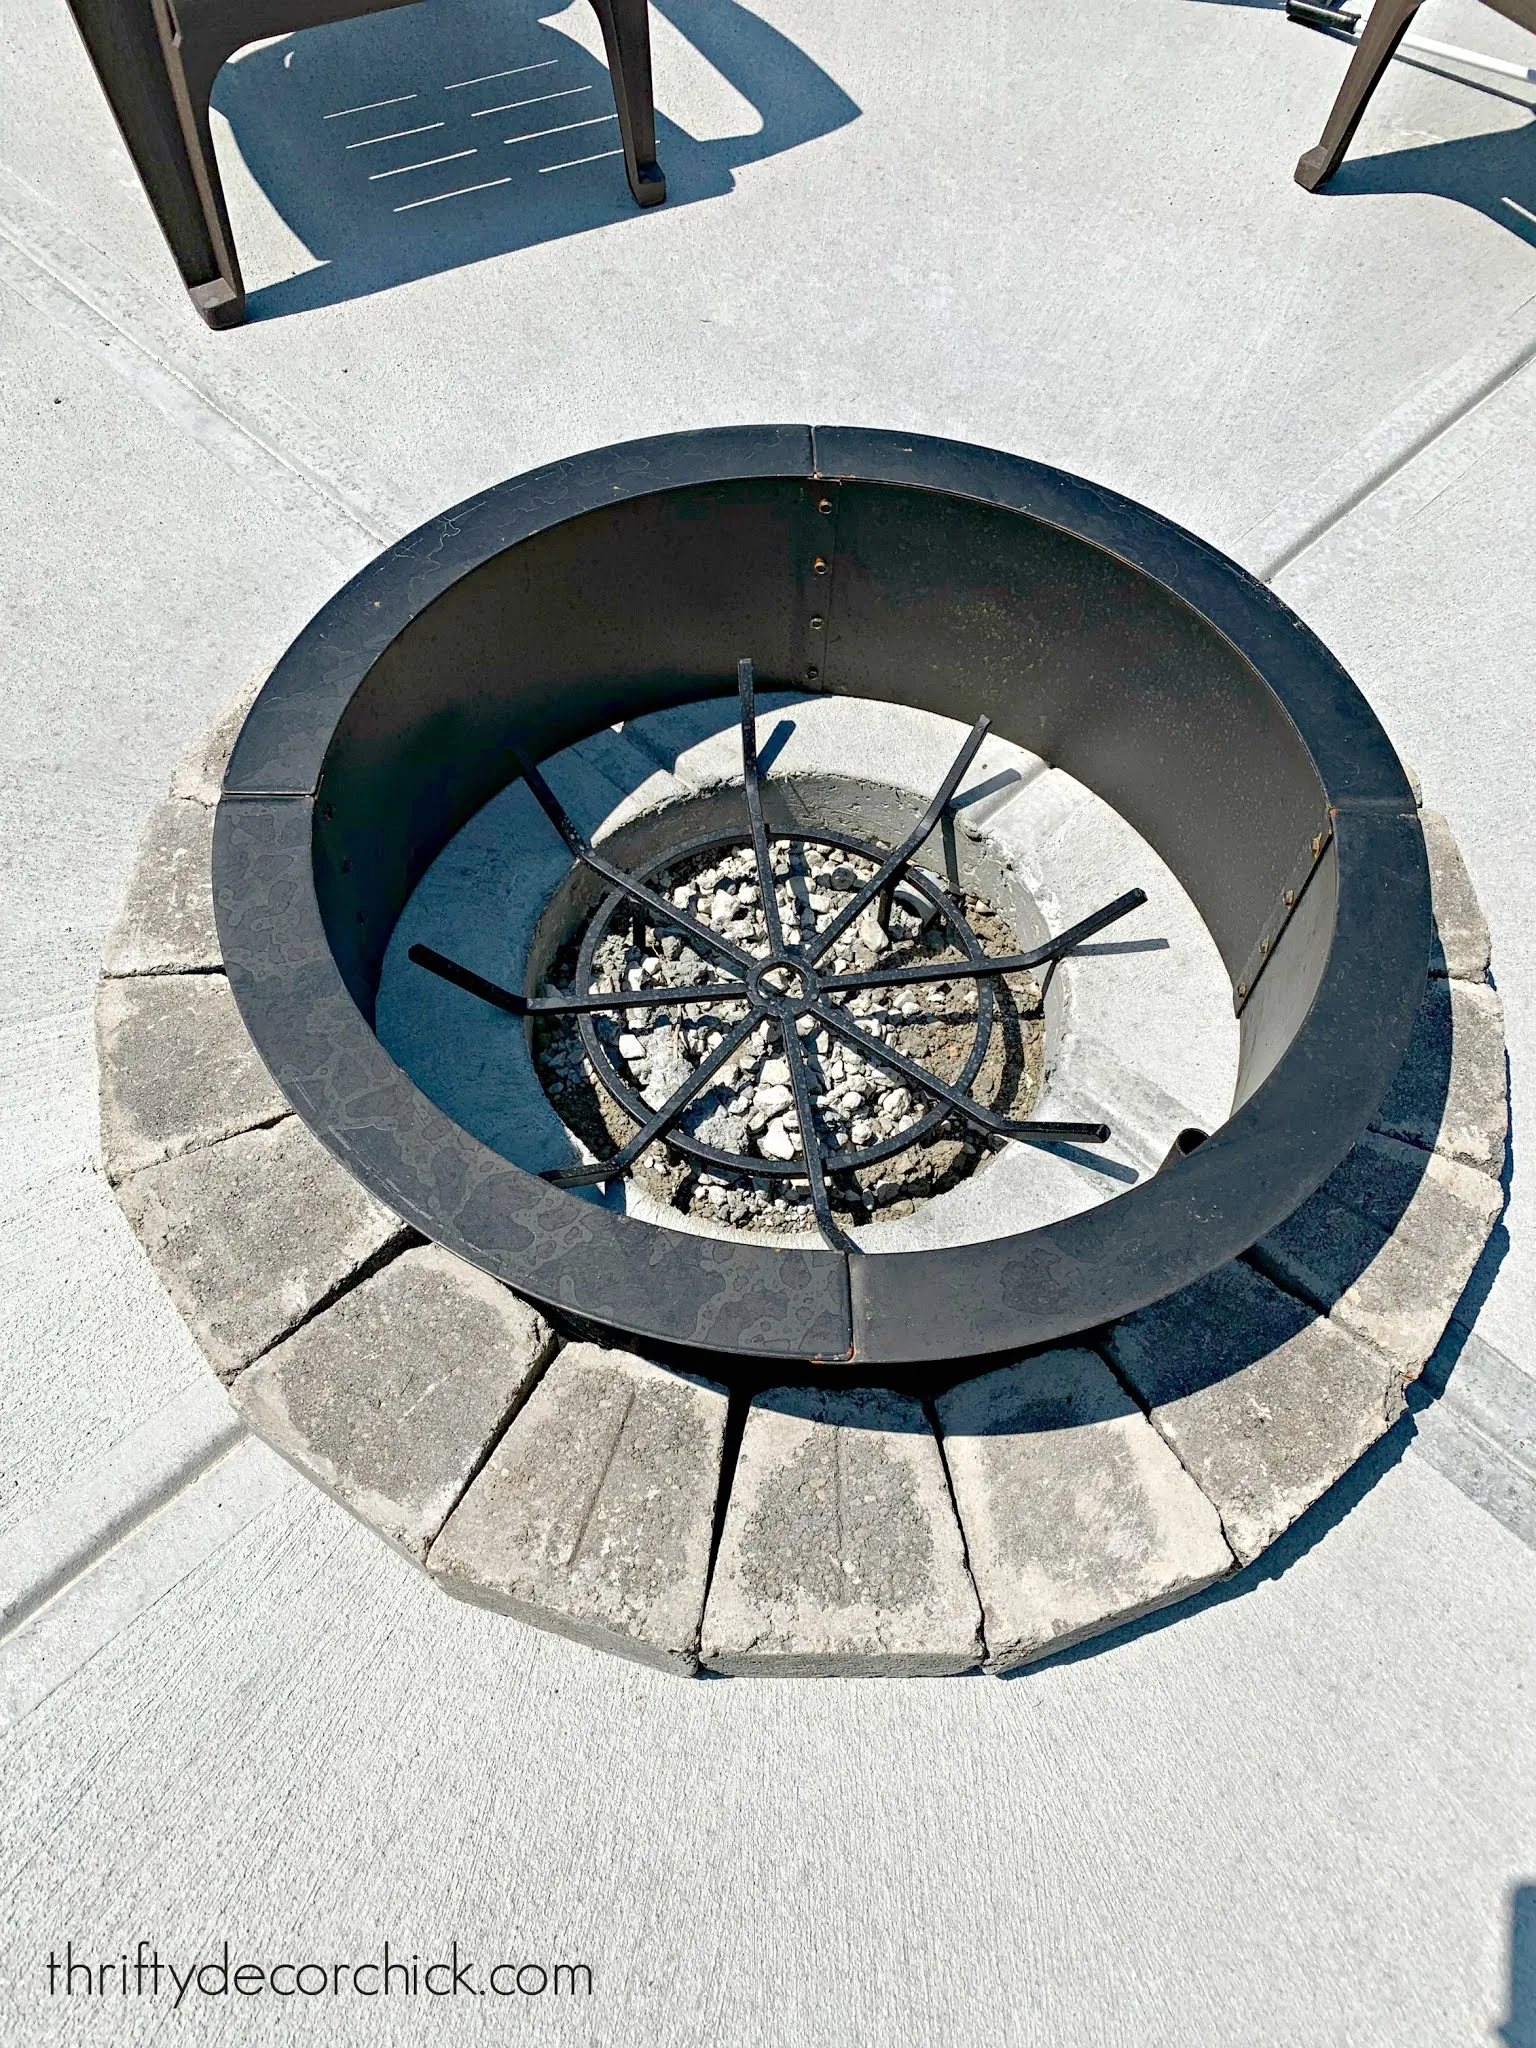
This kit only calls for three levels of stone. The second level is centered over two stones so each row is staggered instead of right on top of each other.
The final ring goes back to the same as the first:
You can stagger them however you want, like tile patterns. Instead of staggering them on the center, you could do 1/3 of the blocks, or even 1/4.
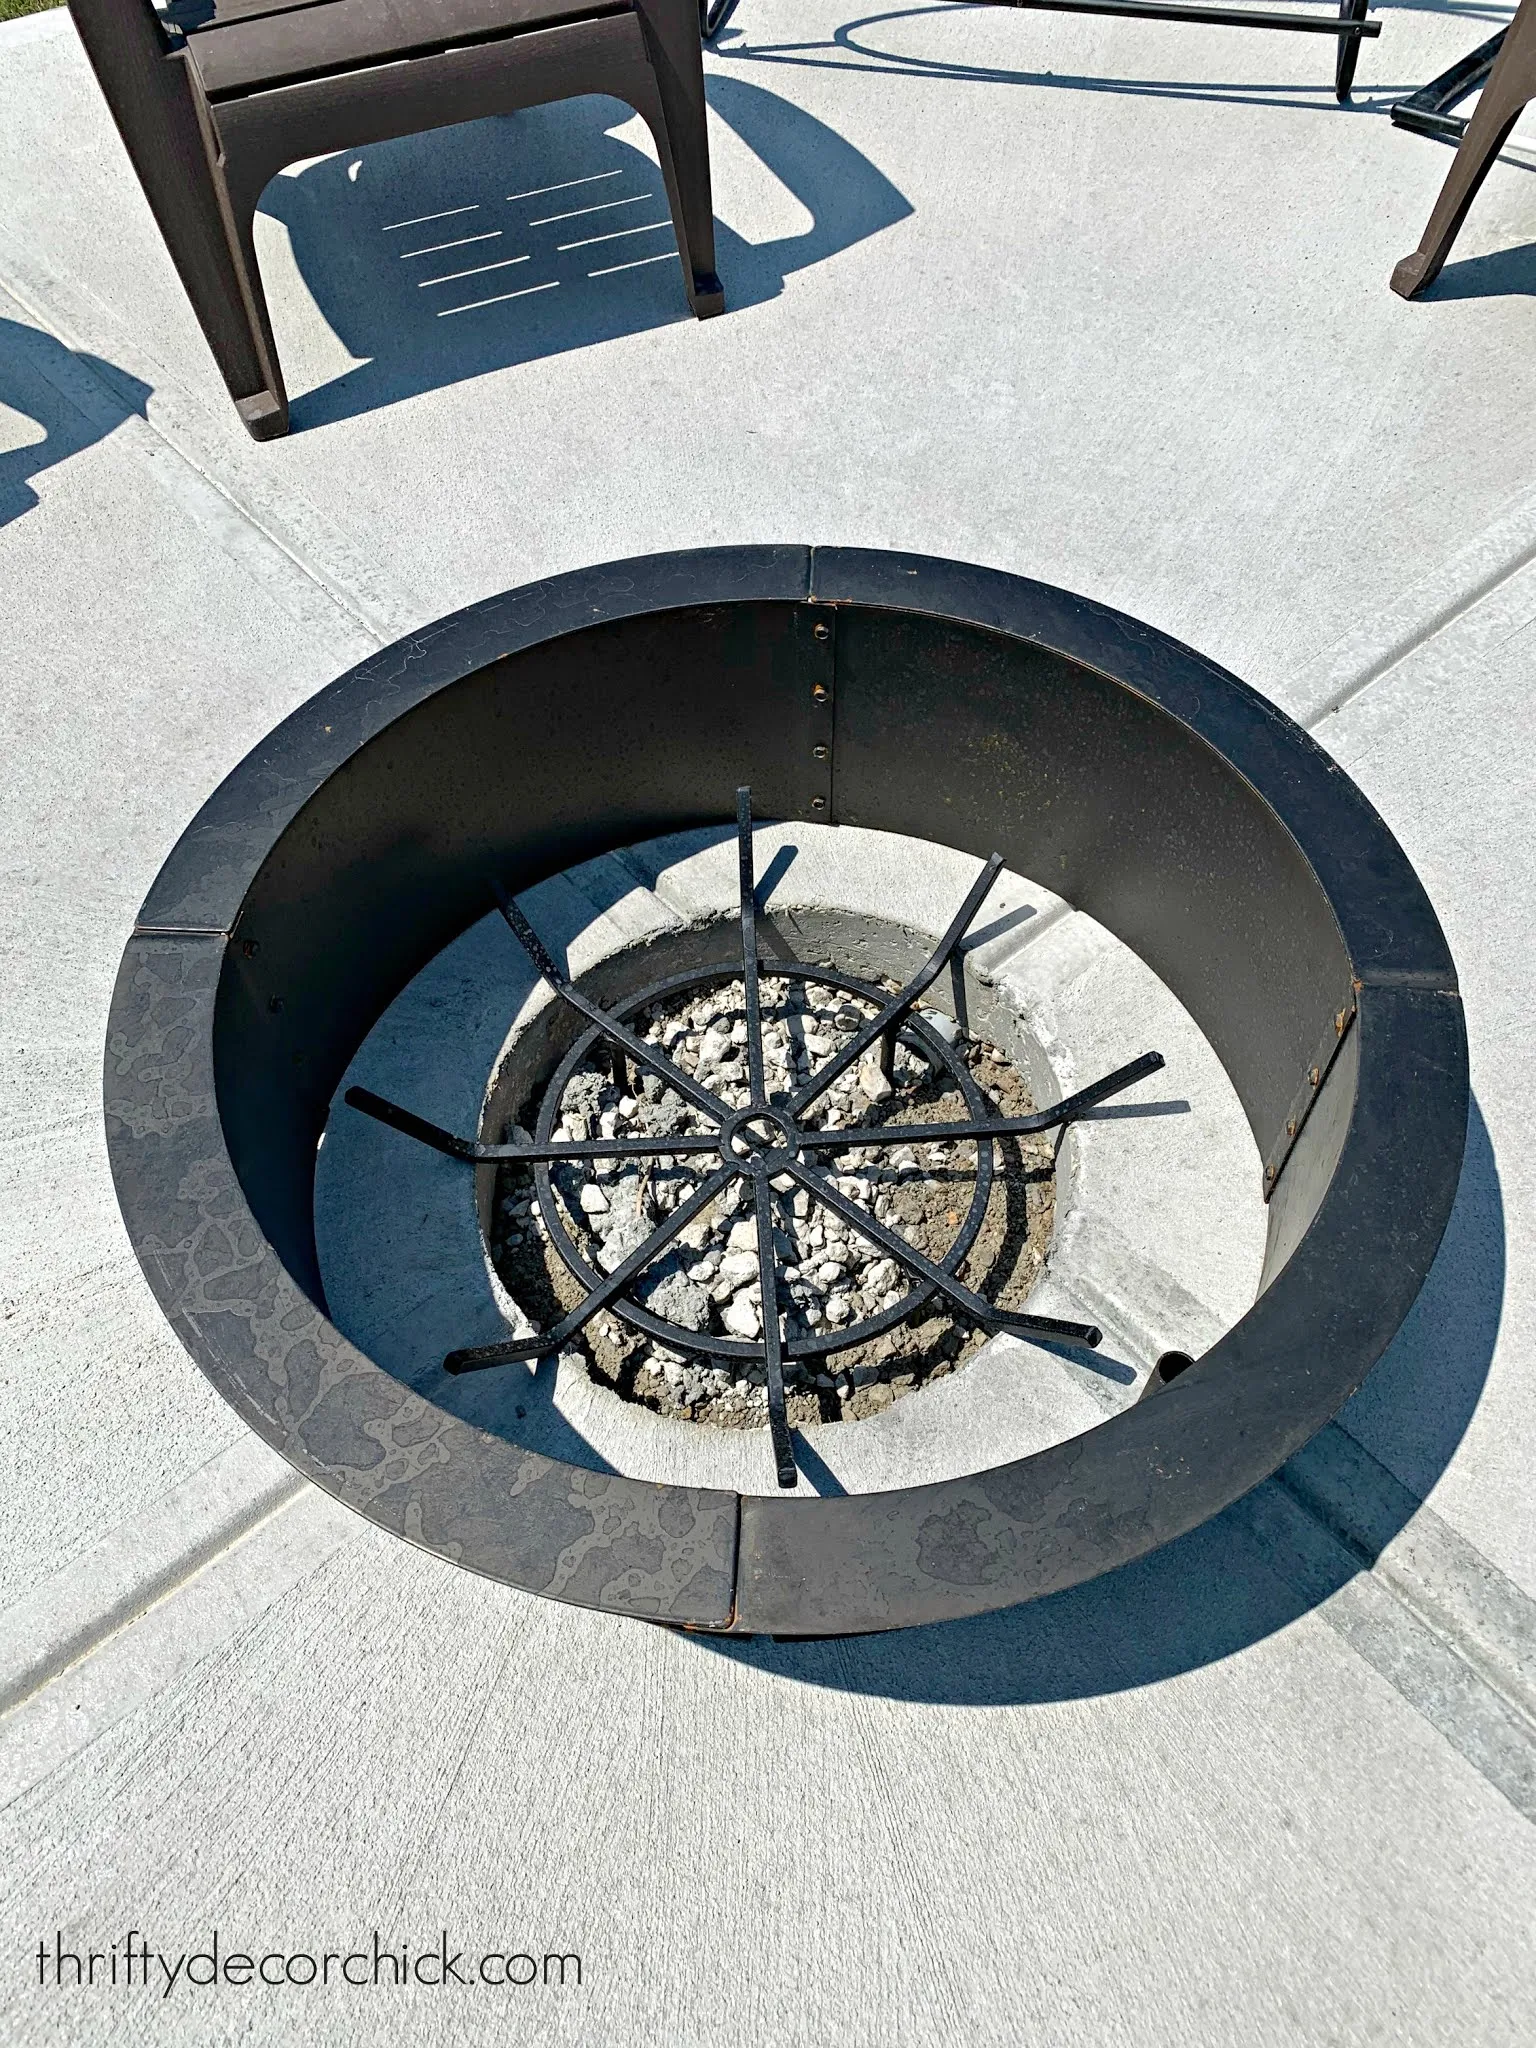
As you can see, I didn’t get the centering just right. It’s OK. 🙂 After the third layer of stones, you add the metal ring back in and you’re almost done!
We added three bags of pea gravel to fill in the hole in the concrete and then up to the bottom of the metal ring :
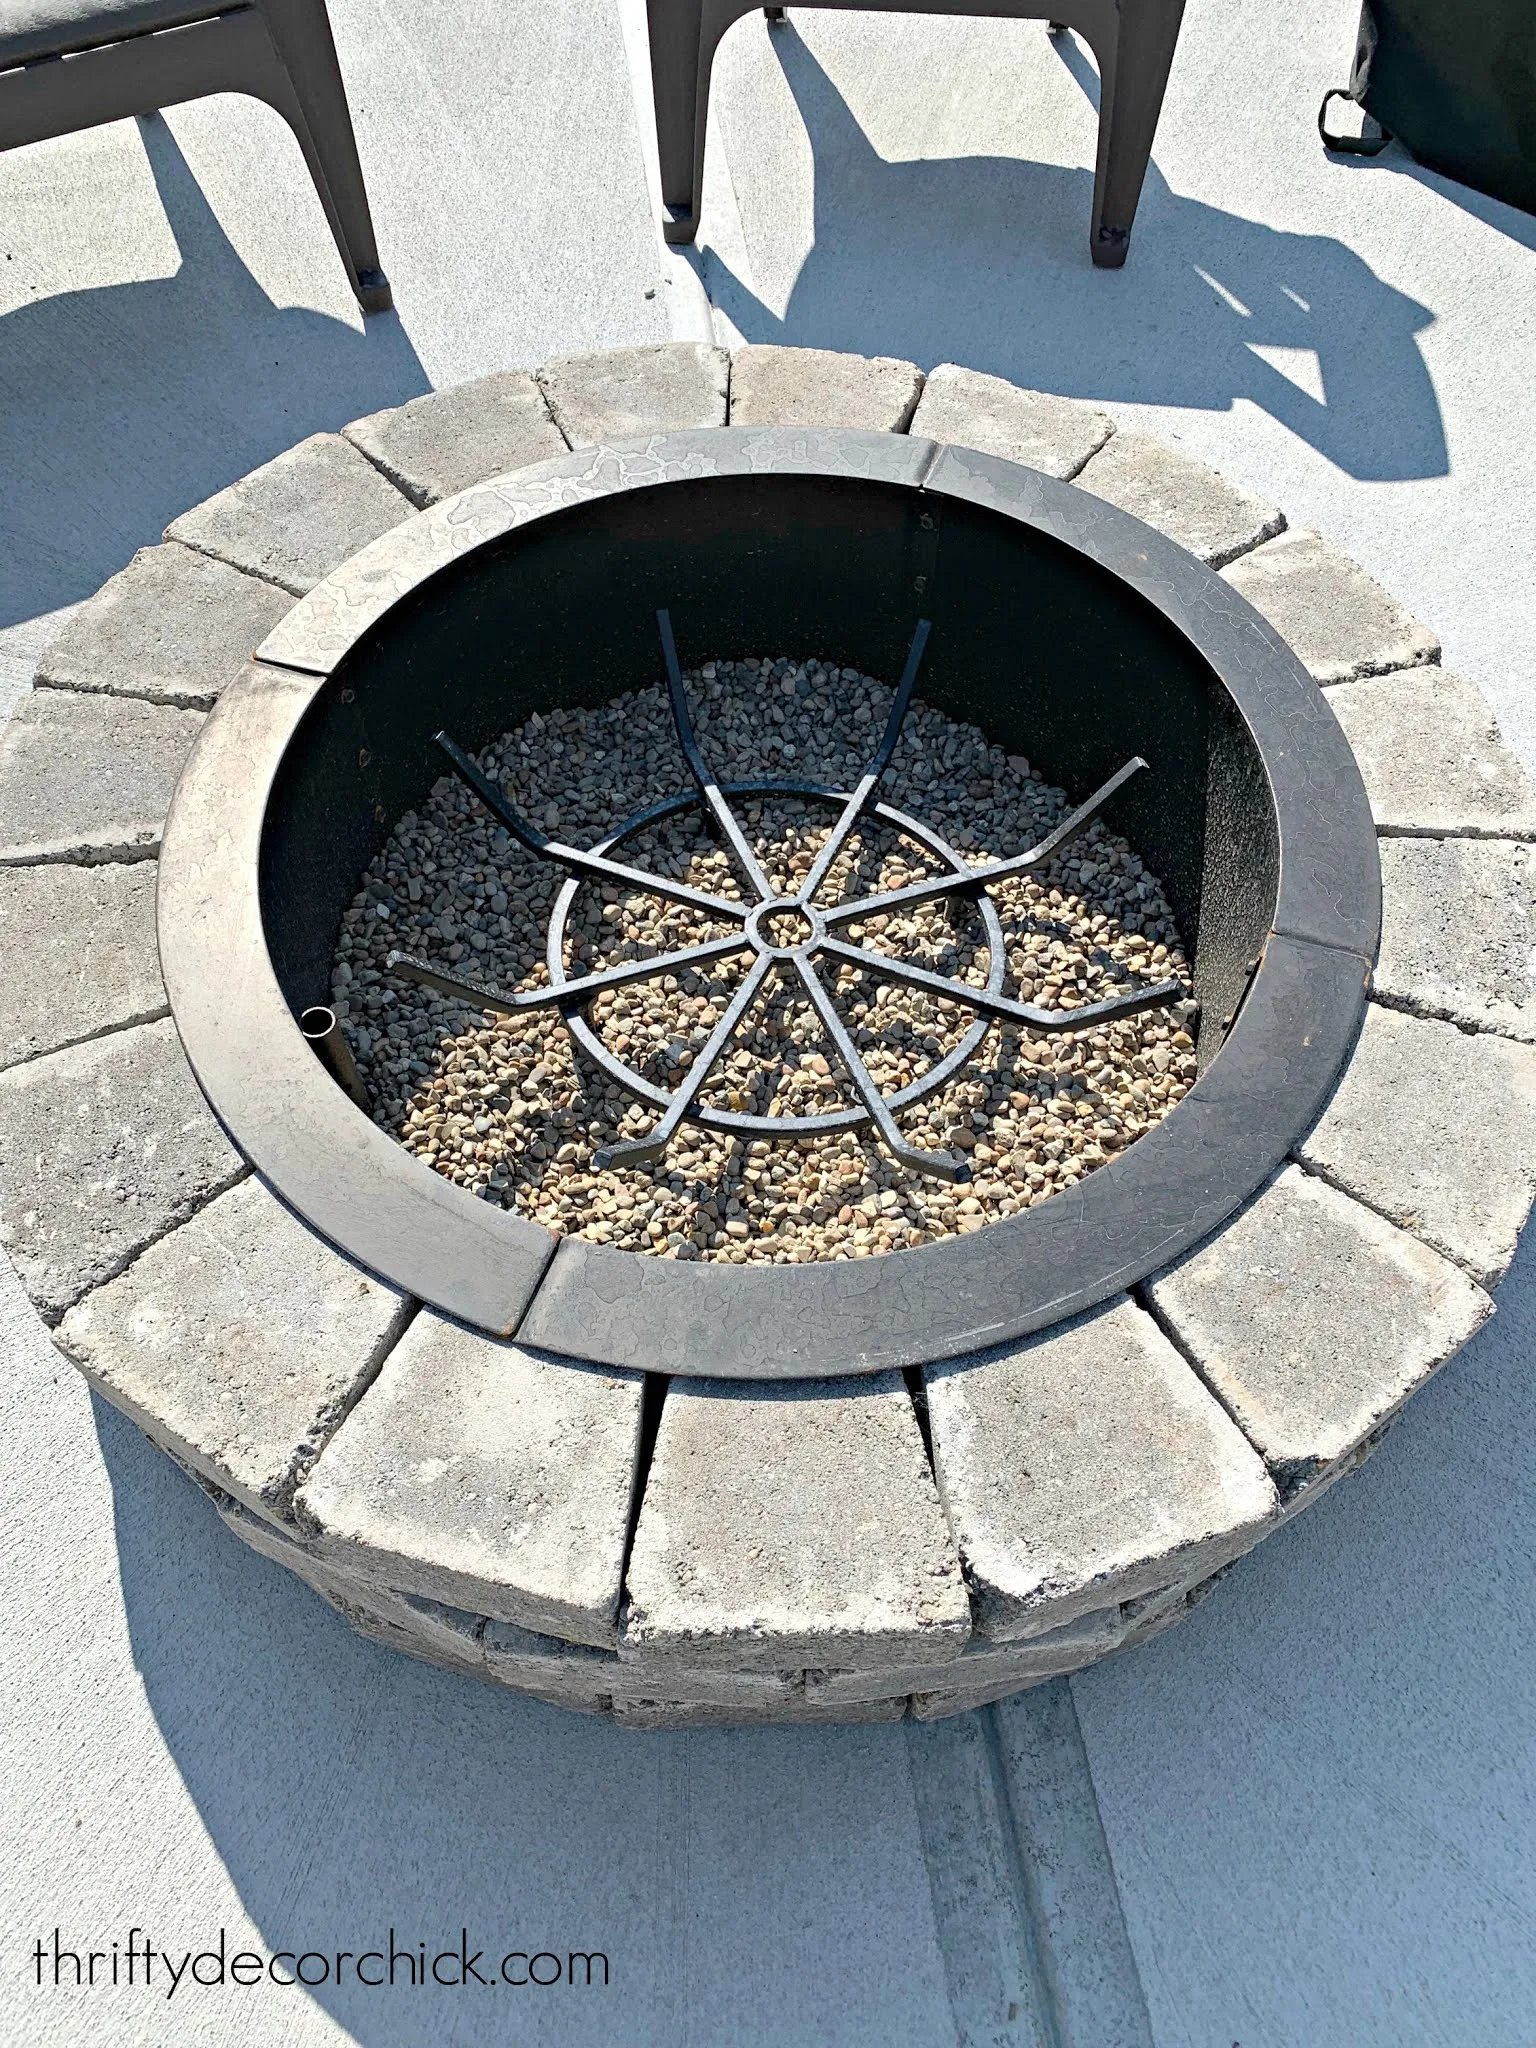
That’s it! It’s plenty big, but if we find we want something grander in the future, we can just purchase a bigger metal ring and then add more stones to make it wider.
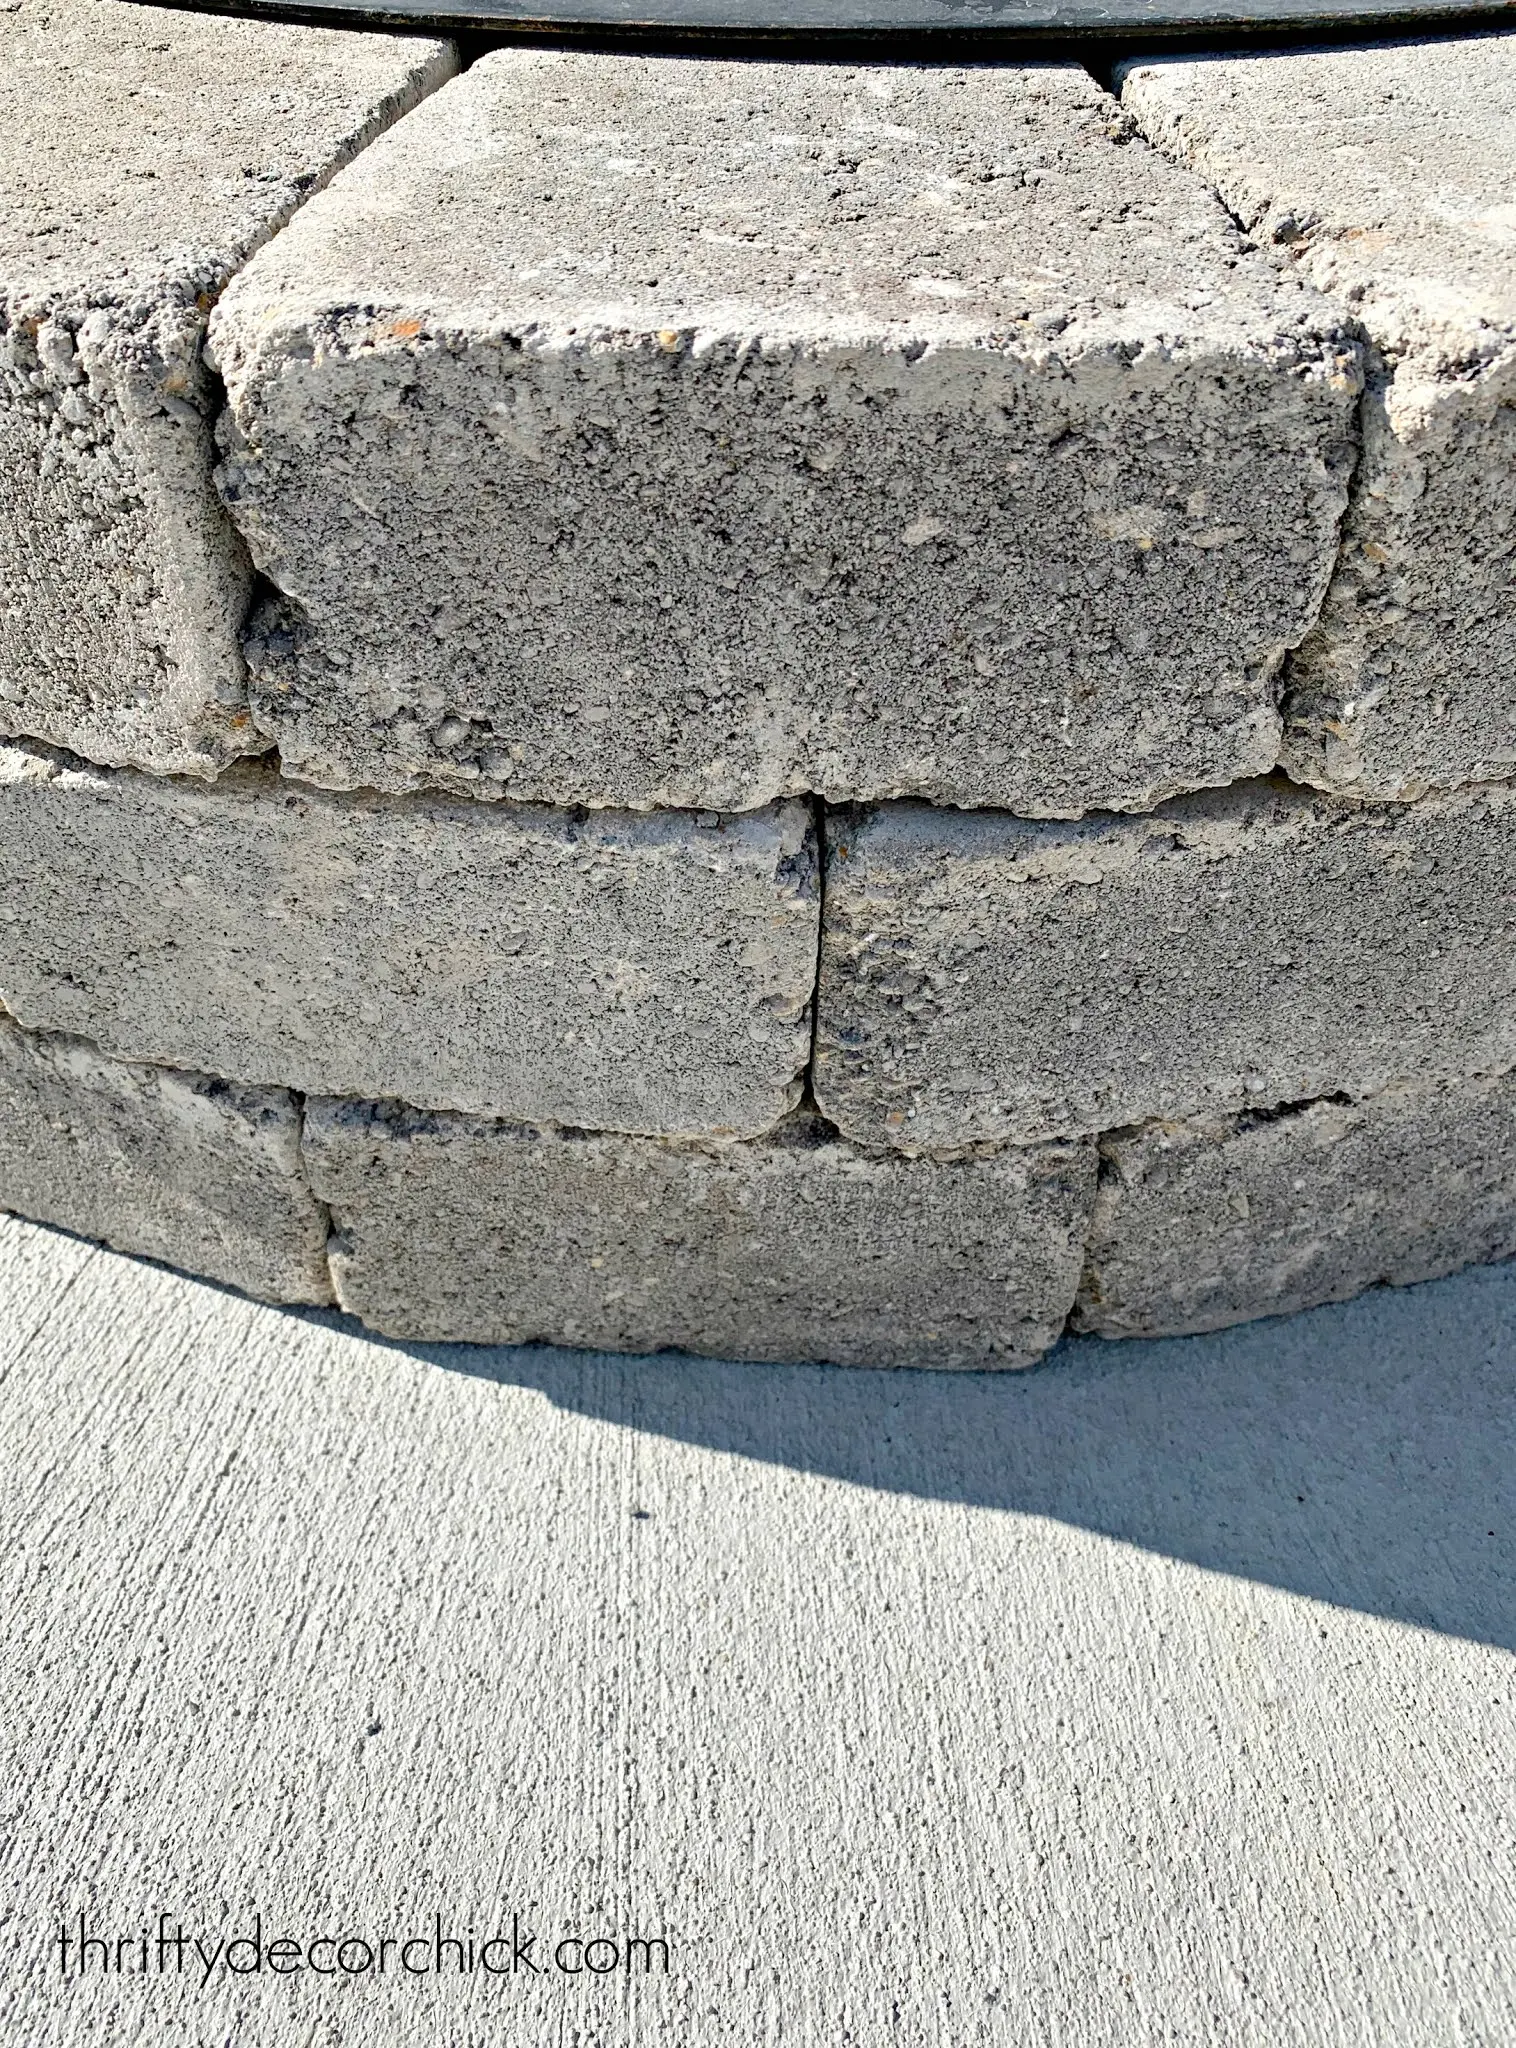
I later added one more layer of stone blocks to make the the pit a little taller and more comfortable to rest our feet on:

We added more pea gravel when we did this so it covers the stone at the base of the pit inside.
You can read all about our Polywood Adirondack chairs here! Those chairs are an investment but will literally last forever. They still look amazing and we’ve never covered them throughout years of rain and snow.
Here are a few tips if you want to try this DIY fire pit project on your own!
- Per the instructions, you shouldn’t burn a fire directly on concrete, hence the gravel addition.
- A metal ring is necessary when building a fire pit — the stones can crack or explode if in direct contact with the fire.
- We added enough gravel so that none of the stone was showing inside — they are all covered with either the gravel or the metal ring.
- We did not glue the stone and haven’t had any issues. But you can use a construction adhesive to secure them if you’d like.
- If you aren’t starting from scratch with a new patio, you can use a fire pit heat shield or mat to help ensure the concrete doesn’t get too hot over time.
We added evergreen trees around the circular patio the next year. This is how they started:
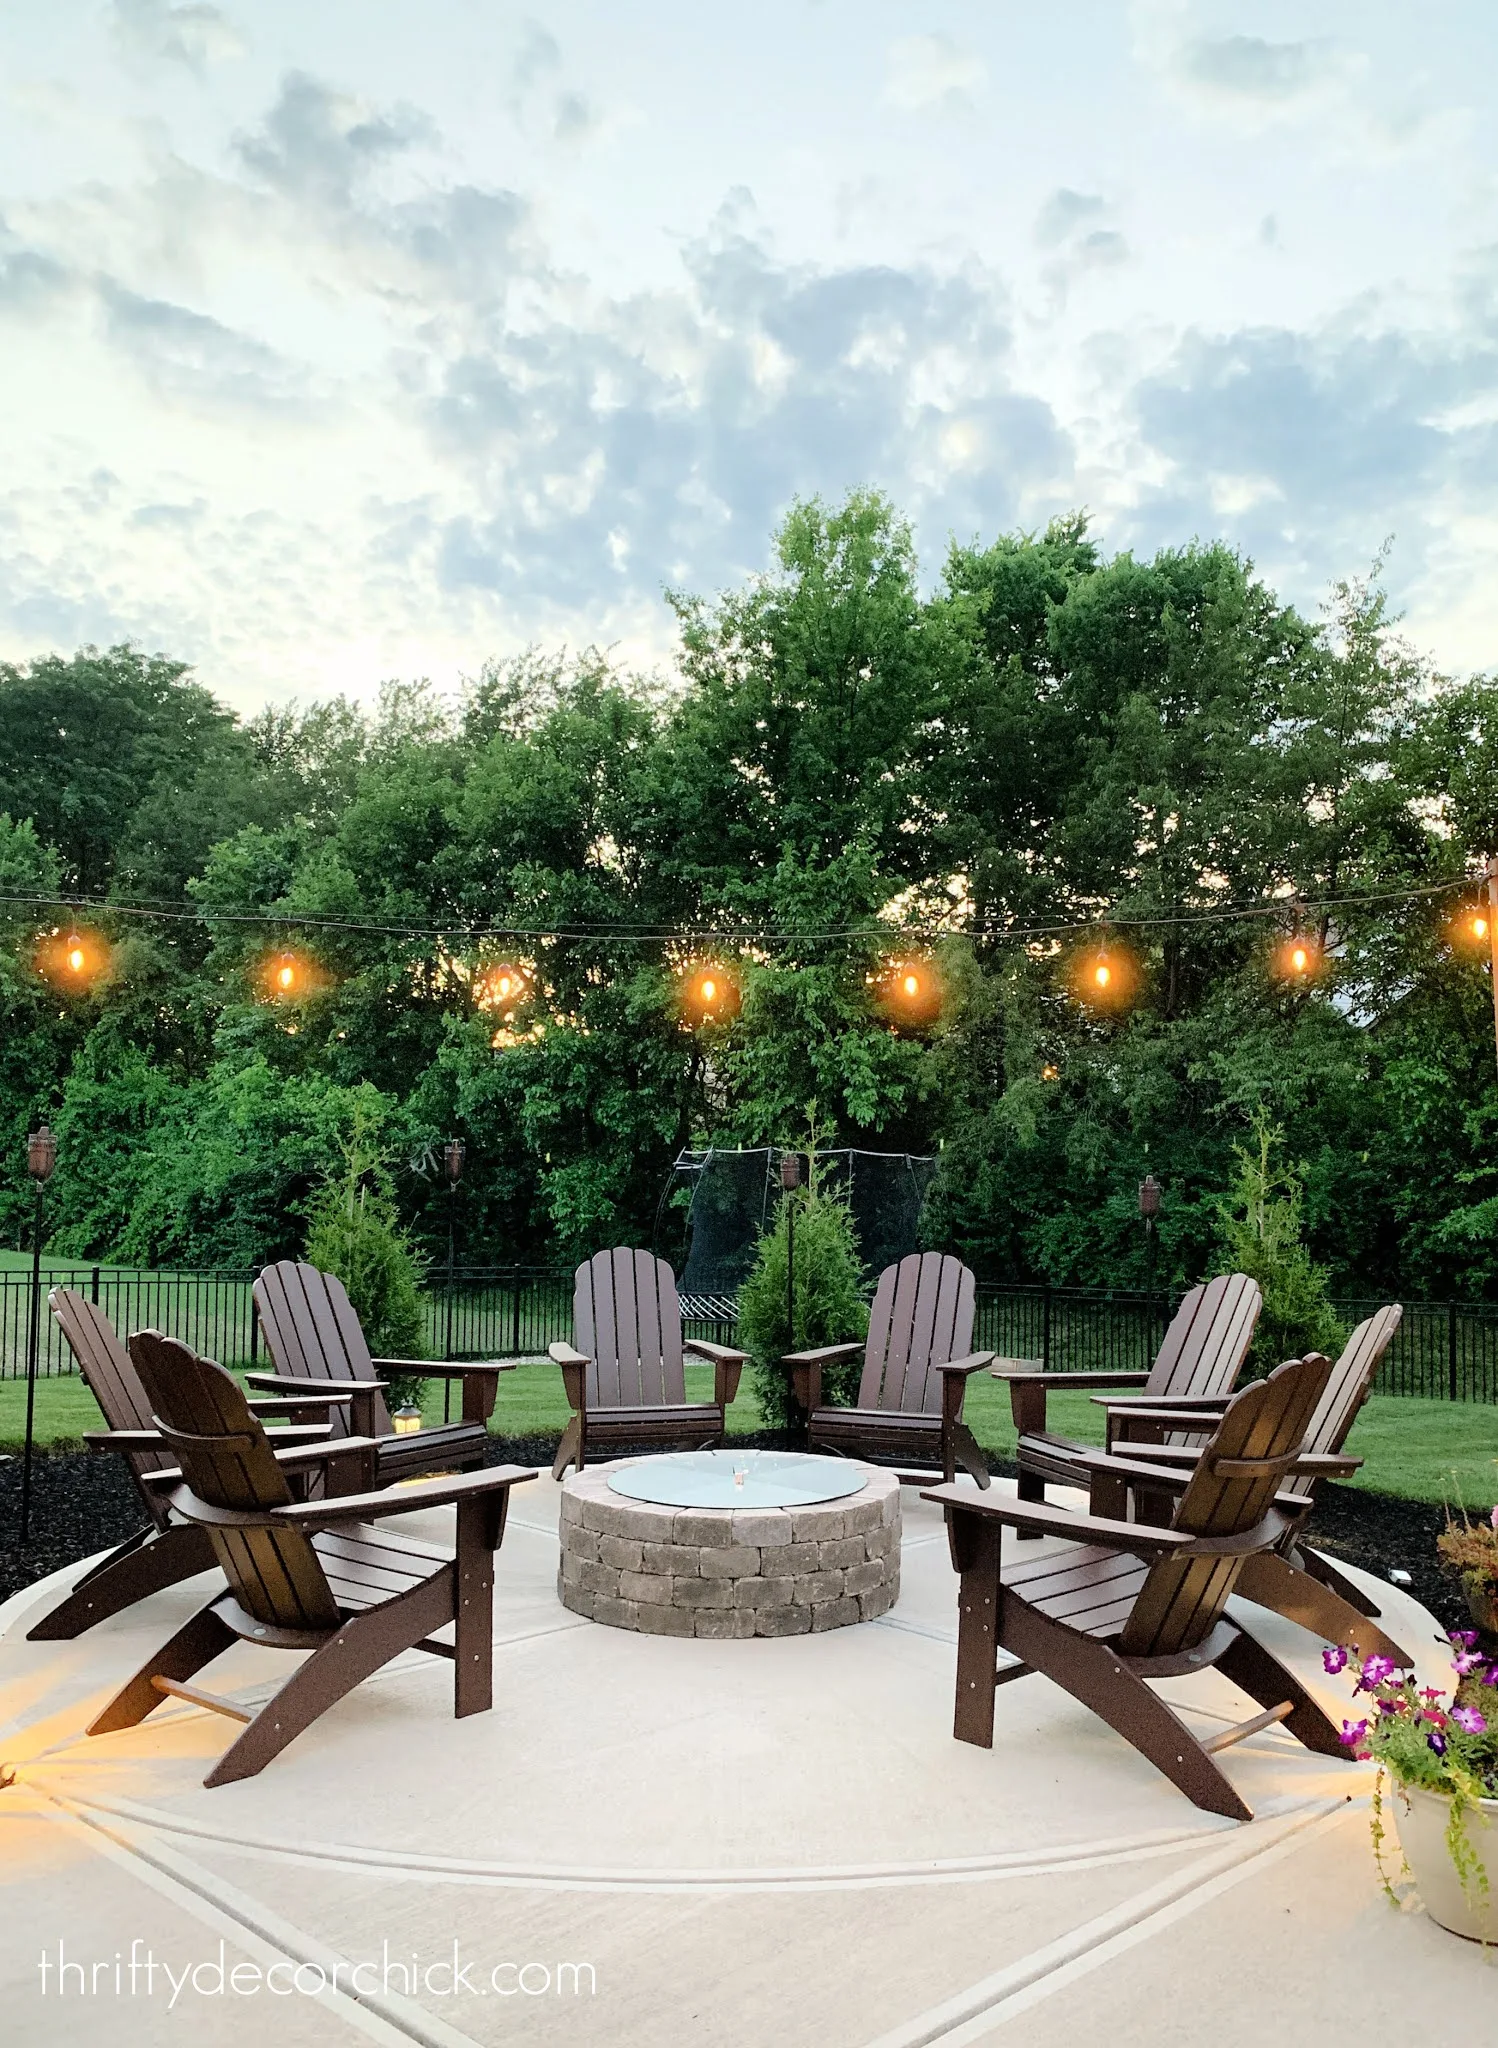
And this is how big those trees are about five years later!:
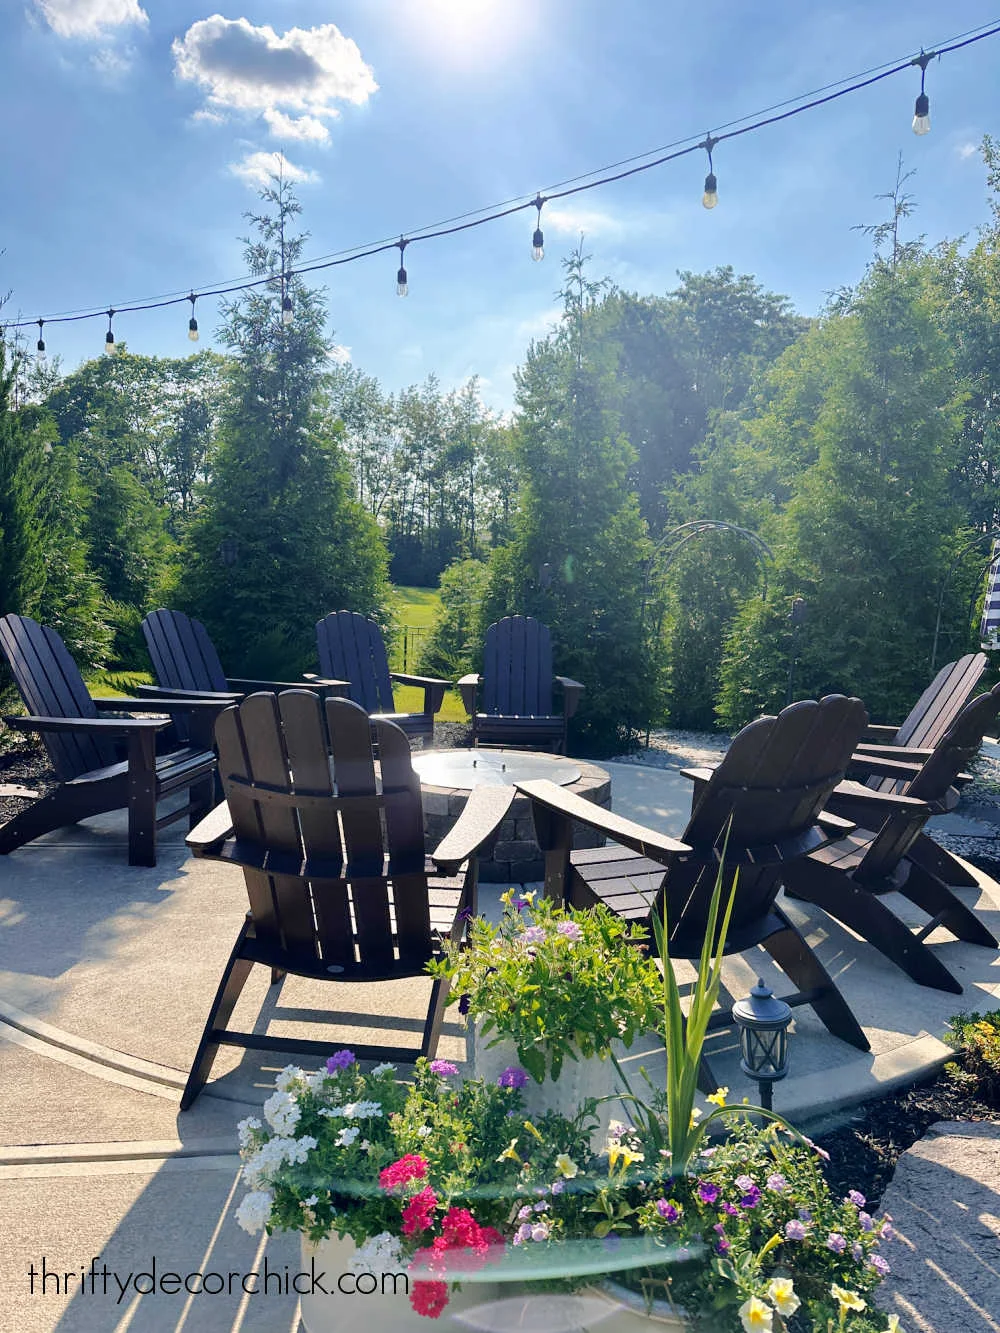
**See the finished patio with fire pit in this post!