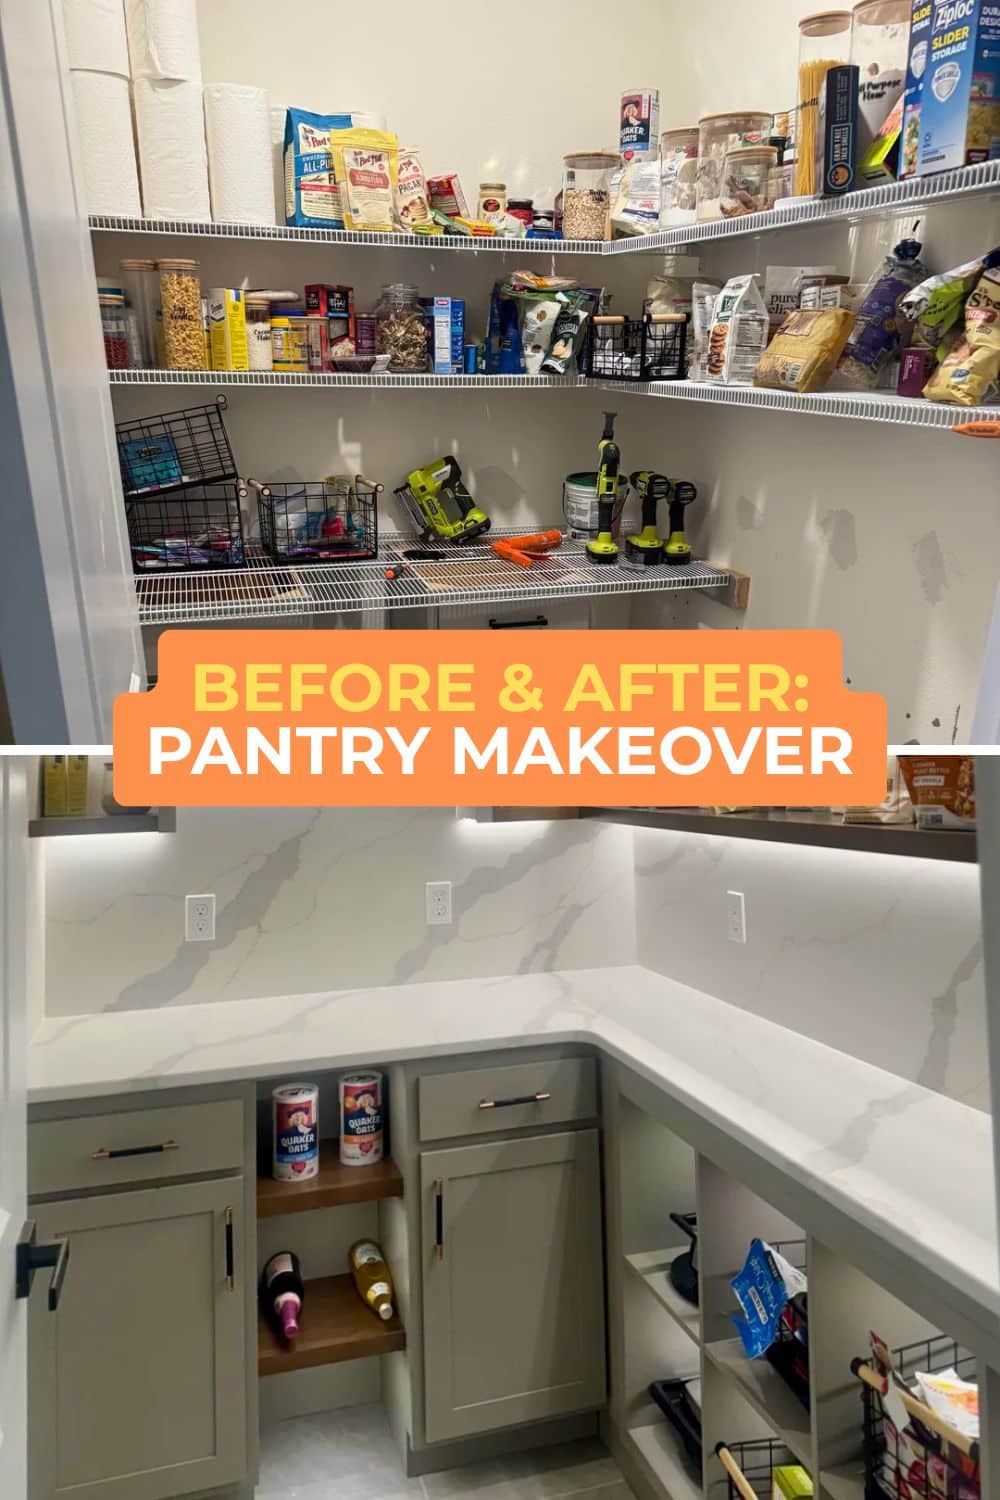
My pantry is about the size of a tall shoebox, so I’m a little envious of this hack.
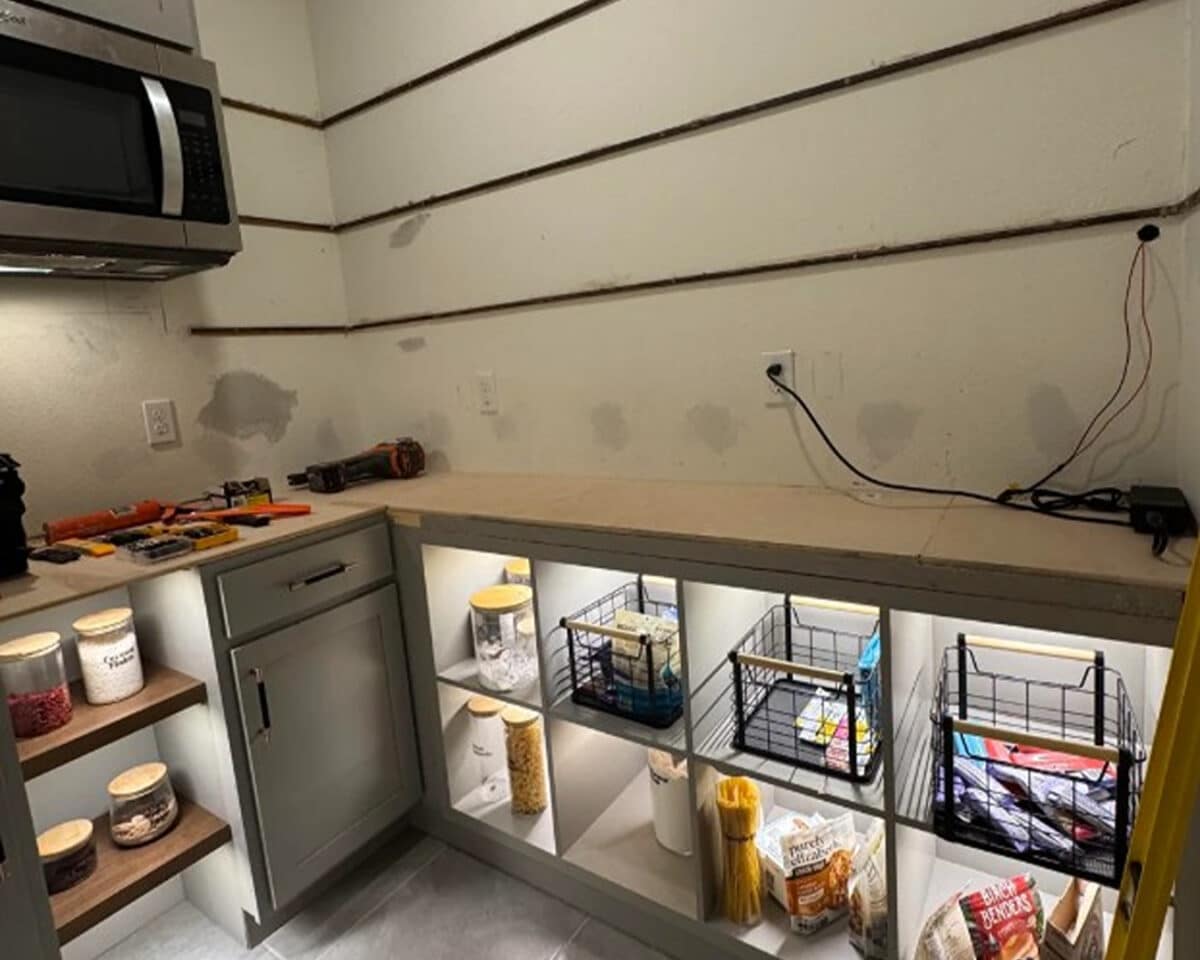
Honestly, I’m even a little jealous of the before with its ample space, but the storage and style of the after are next level.
Minutemaid101 had a few extra cabinets leftover from a kitchen remodel, and they sparked a major custom pantry makeover.
The addition of an IKEA KALLAX unit increased storage exponentially and gave the entire space a custom finish.
I mean, if my pantry looked this good, I’d be grabbing snacks constantly (hmmm, maybe I shouldn’t try this one).
But if your pantry needs a refresh and you’re craving more storage, then keep reading. This transformation might be exactly what you’ve been waiting for.
What You’ll Need
- 1 IKEA KALLAX unit
- Cabinets and shelves as desired
- Timber for the base frame
- 1 x 10s for shelf brackets
- Plywood for the counter base
- LEDs
- Level
- Router
- Countertop (DIY or store-bought)
- Paint
- Basics — drill, screw gun, tape measure, pencil, saw
Upgrade Your Custom Pantry Storage With KALLAX
1. Assemble and Position the Cabinets and KALLAX
Place and mount the cabinets where you want them, and assemble the KALLAX according to IKEA instructions. The hacker created a convenient and practical configuration using an “L” setup. Build a base for the KALLAX so it mimics the base height of the cabinets.
2. Make Floating Shelves
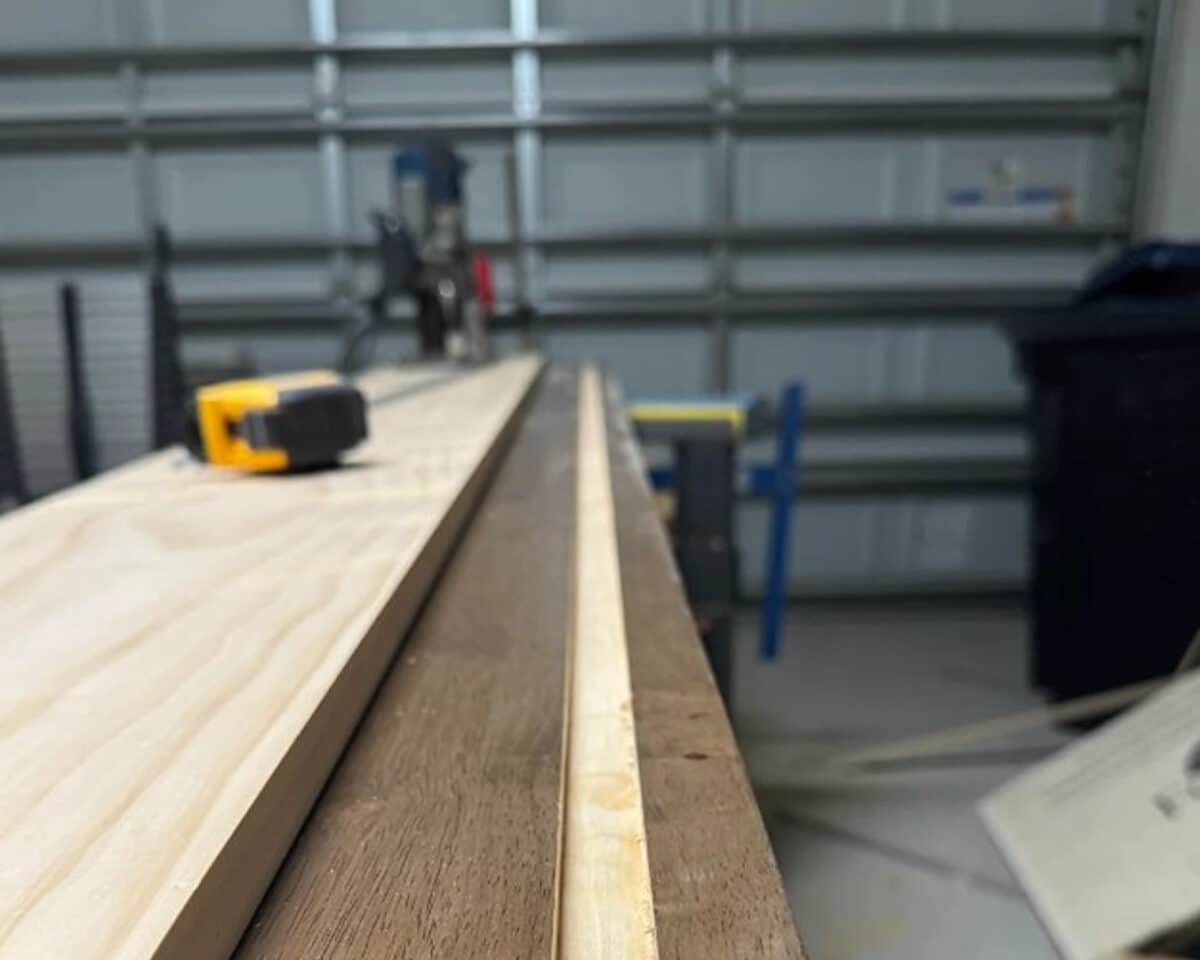
Minutemaid101 used a router to create a niche in the back of their DIY butcher block shelves to hide the cleats. Measure and install hardware on the walls where you want to put shelves, using a laser level to keep things even.
Predrill holes every 16 inches where the studs are to keep things nice and sturdy. Create the brackets (the hacker ripped down 1 x 10s) and attach them to the wall.
The hacker also used adhesive in addition to screws for extra stability. However, consider if you ever plan to remove the shelves or change things up in the future, as the glue could make that tricky.
3. Install LEDs
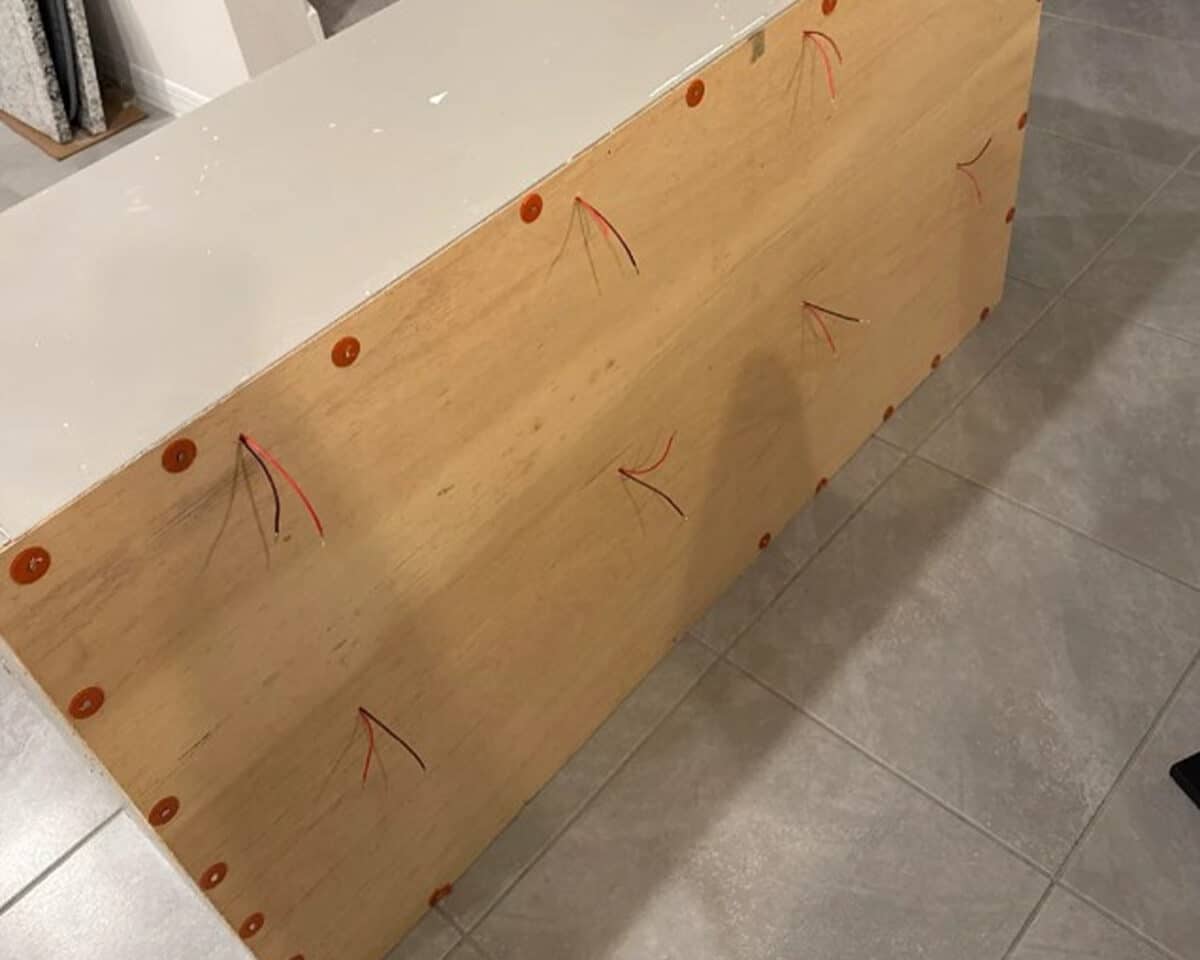
Add LEDs as desired to the shelves. Drill a small hole in the back of each KALLAX cubby to fish wires through and keep everything streamlined and clean-looking. Then you can place the KALLAX on the base and secure it to the wall. If you’re not up for hardwiring or dealing with electricity, you could simplify this part by using battery-operated LEDs that work with a remote.
4. Create an Even Surface for the Countertop
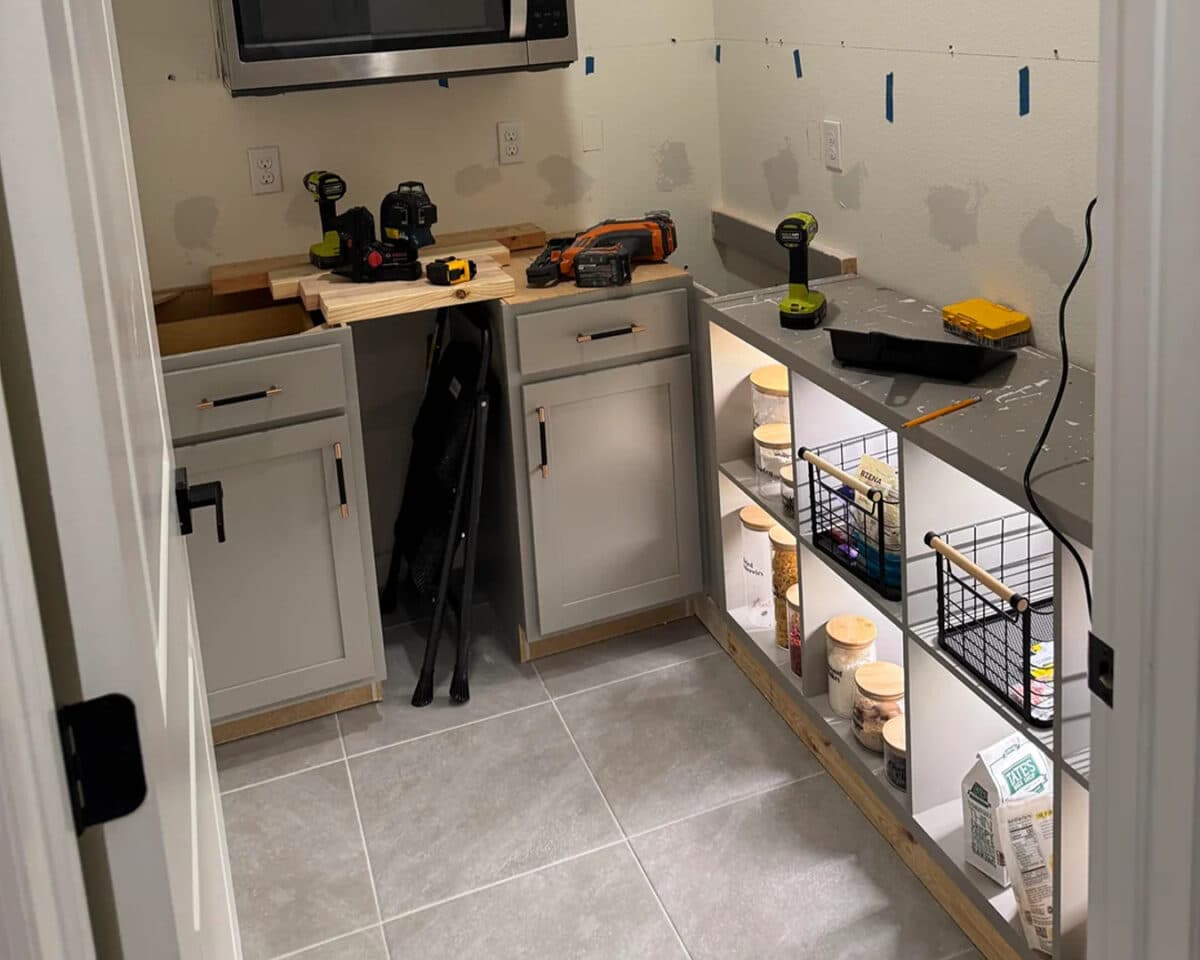
Install a board on the wall in the corner to act as a brace for the counter. If the top of the KALLAX and your cabinets are not even, use an extra layer of plywood on the KALLAX to create a level surface for the counter base.
The hacker hired Home Depot to do the countertop install, but if you’re handy and want to DIY this too, go for it. For budget-friendly, ready-made options, see if any of IKEA’s countertops might work.
5. Finishing Touches
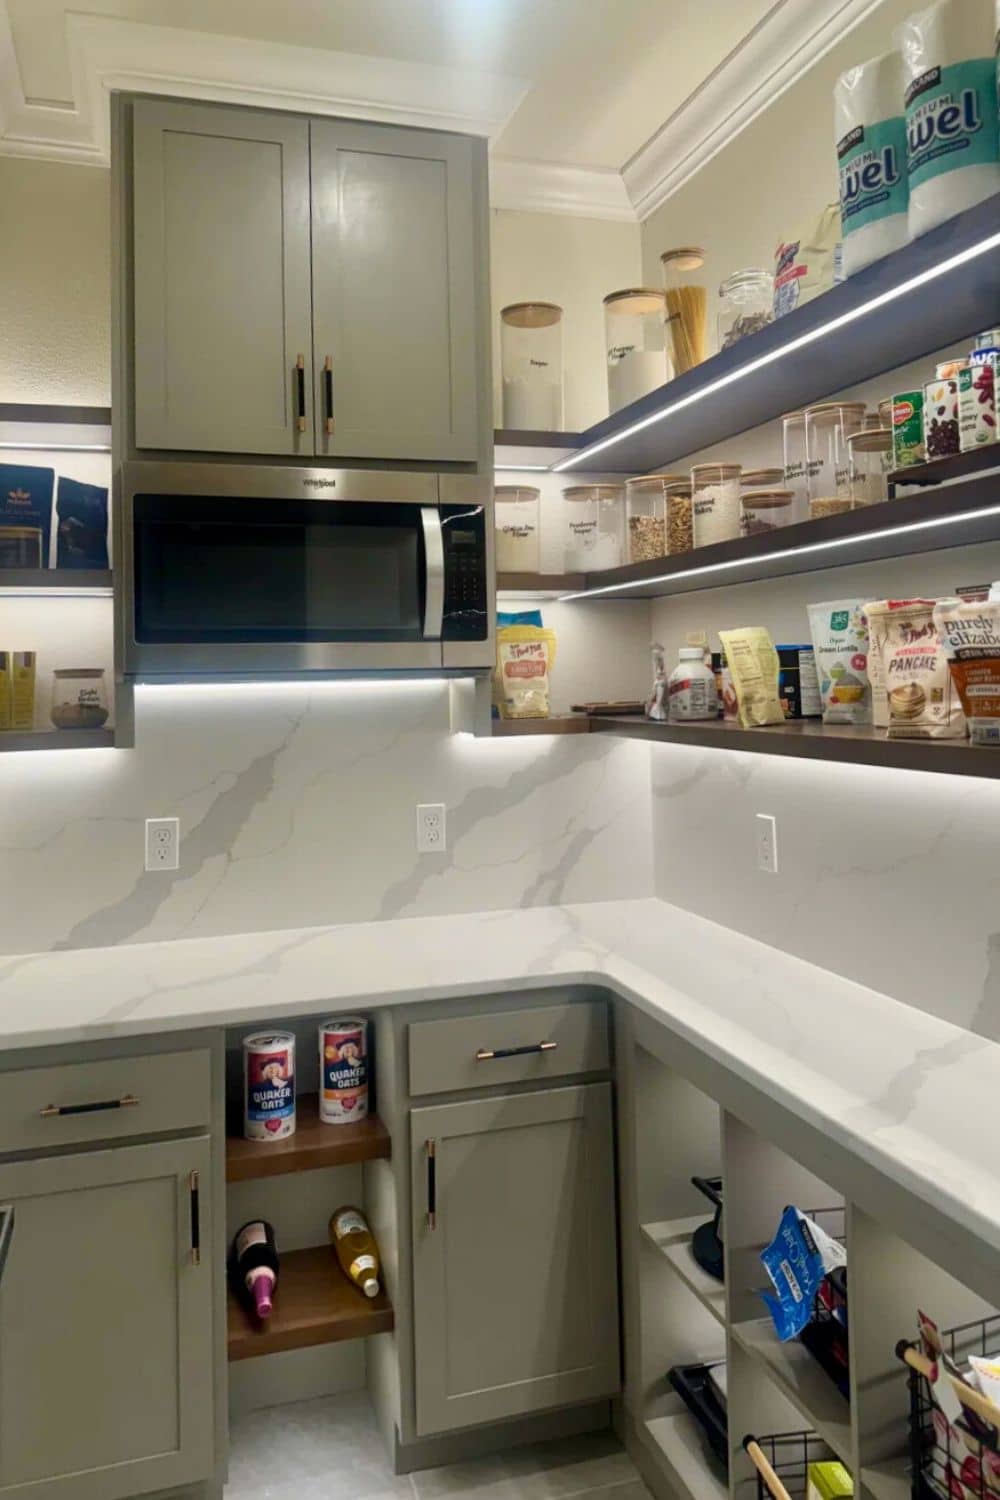
Add shelves as desired, and for an extra custom look, carry the countertop material onto the wall to the bottom of the upper cabinets or shelves. Paint the KALLAX and cabinets to match. The addition of outlets adds extra functionality, but how many you need is up to you and your budget.
Honor the DIY Rule: Know Thyself (and Thy Skills)
I feel like this is one of those hacks that’s more a semi-professional job than a total DIY. I mean, you could do it solo, but the odds are good that you’d need some sharp skills in carpentry, or at the very least, be a DIY expert to pull it off as-is.
But don’t let that dissuade you!
If you have some experience, you may just need a little help with a few parts. Or, you might decide to make a few minor adjustments.
Basically, be honest about your skill level anytime you approach a more involved DIY project. Otherwise, you could end up in a more challenging position than when you started.
What do you think? Could you make this pantry happen, or would you need some extra guidance along the way? Would you do anything differently?
Check out ZeroSkillsDIY for upcoming hacks, projects, and inspiration. Have a hack to share? We want to see it! Tell us all about it, and you might be featured next.

