People say their biggest obstacle to creating effective shoe storage is space. It’s easier to just kick off their shoes when they get home, leaving them in a big pile by the door.
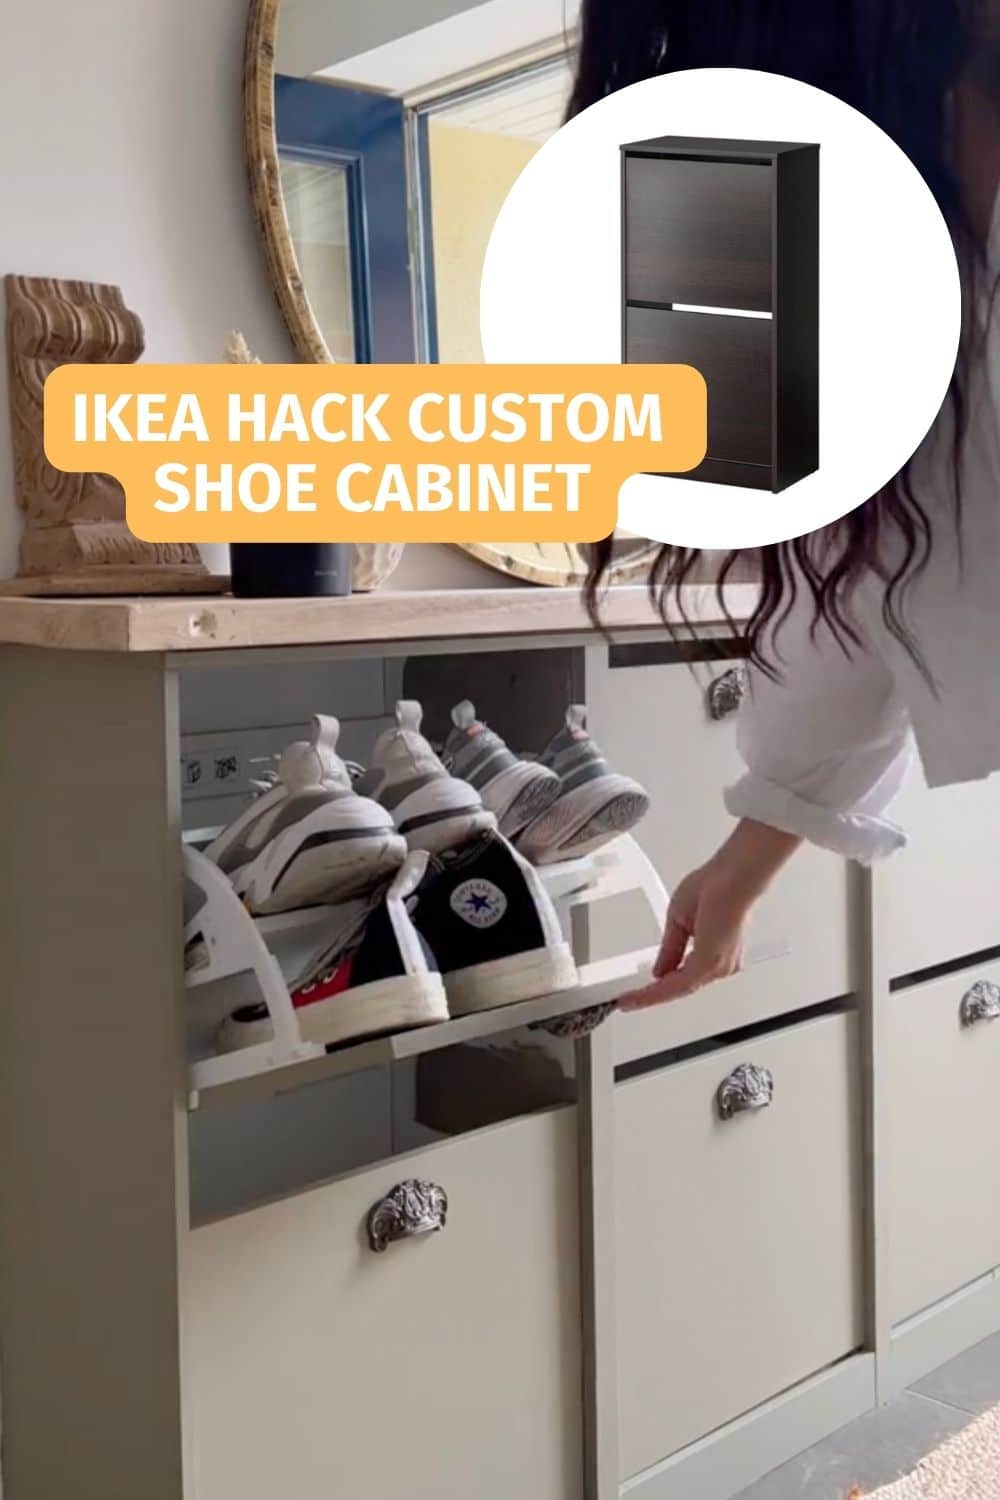
Well, it’s time to bid those days farewell, thanks to this space-saving shoe cabinet hack from The Flipped Piece @theflippedpiece.
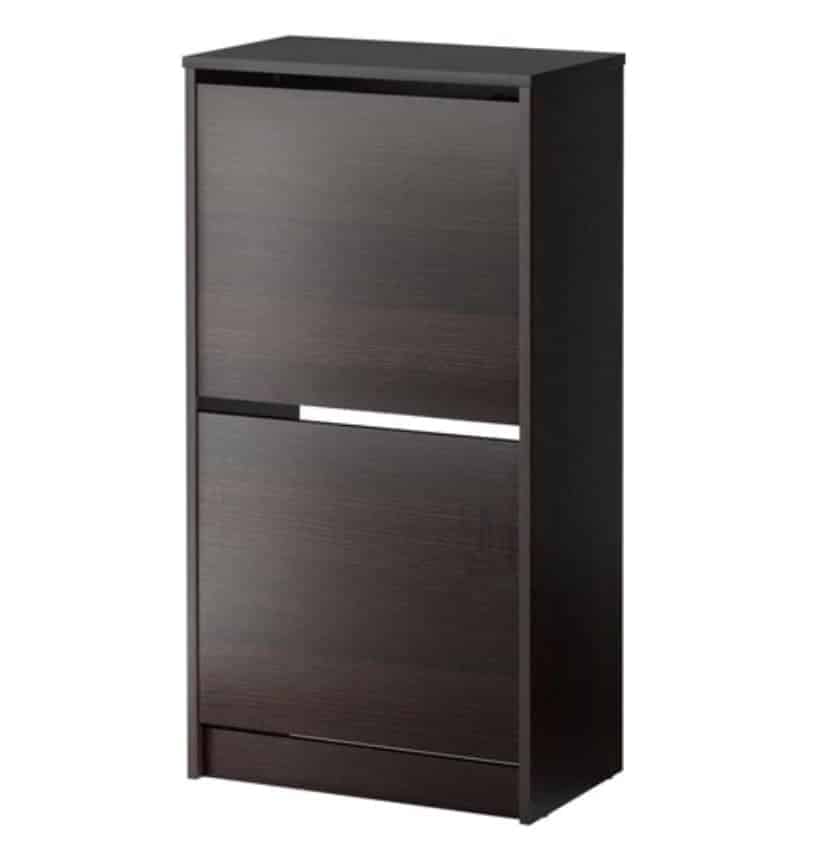
These tilt-out IKEA cabinets feature a slim silhouette that makes them perfect for stashing shoes in a narrow hallway or entryway.
But you can use them anywhere (and for more than just shoes — we’ll put some ideas below)!
Hack an IKEA Slim Shoe Cabinet With a Custom Fit
What You’ll Need
- 3 IKEA BISSA shoe cabinets
- Heavy-duty adhesive
- Clamps
- Appropriate hardware to attach cabinets to your wall
- MDF strips or a panel to cut down
- Caulk
- Sandpaper or sanding block
- Scaffolding board
- Primer and paint
- Stain, varnish, or wood wax
- 6 Handles or knobs
- Gilding Wax (optional)
- Basics — saw, drill, screw gun
1. Assemble the BISSA Cabinets

Put together the three BISSA shoe cabinets according to IKEA’s instructions. Decide where you want them to go and put them into position next to each other. Of course, if you have the wall space, you could even add a cabinet or two for more storage!
2. Prep and Connect the Shoe Cabinets
Cut a notch out of the bottom back of each cabinet to clear your baseboard molding. This step helps give the finished cabinet a more built-in look. Use heavy-duty adhesive and clamps to connect the cabinets, then screw them into the wall using the appropriate hardware.
3. Build Out the Built-In Look
To complete the built-in look, cut pieces of MDF to fit around the bottom of the entire piece. Scribe the edges to fit seamlessly over the shape of your molding.
Then, use more MDF strips, cut to size, to cover the front seams where the cabinets meet. Caulk all the gaps to give the piece a nice, polished look.
4. Sand and Prime the Cabinets
Scuff sand the MDF strips and cabinets and prime everything. After the primer dries, paint your cabinet any color you choose.
5. Make the Top
Cut the scaffolding board to size to create a top piece for your cabinet. This makes the three cabinets look like one single piece of furniture.
Sand it down and attach it to the top of the shoe cabinets with the adhesive. Apply a stain, varnish, or wax, depending on your preference.
6. Add the Handles
Install the handles and knobs, one on each cabinet. The hacker added gilding wax to give the piece a more aged look. However, you can skip the wax, depending on the look you’re going for.
7. Finishing Touches
Add a few decor pieces to finish off the overall look. A mirror hanging on the wall above, a few statement pieces on the top, maybe a tray to gather essentials like keys, sunglasses, etc.
This slim shoe cabinet holds more than shoes
The hacker fills these cabinets with shoes, which is excellent! But if you don’t have that many shoes or don’t need that much storage for shoes in your hallway, no problem. There are always ways to tweak storage to fit your needs.
We have slim shoe cabinets in our hallway, but only one holds shoes. Here are a few examples of what we stash in the others to help you imagine all of the storage possibilities!
- Rolled-up jackets
- A basket with extra baseball caps
- An inflatable booster seat
- Sweaters
- A shallow bin with gloves and rolled-up scarves
Follow The Flipped Piece @theflippedpiece for other ideas and design inspiration. Plus, don’t miss this other great shoe organizer idea and these clever shoe storage hacks! Which one will you try?
Got an IKEA hack of your own? We want to see it! Submit your project here or tag us on Instagram @ikeahackersofficial.

