“Yay! Let’s do some laundry!” (Said nobody ever.) I mean, maybe some people find washing clothes relaxing, but I’m not one of them.
However, when you have a sweet setup to take care of business, doing the laundry isn’t so bad.
But what if you don’t have a dedicated laundry room or closet to tuck away your washer and dryer? Having two major appliances out in the open doesn’t necessarily scream stylish.
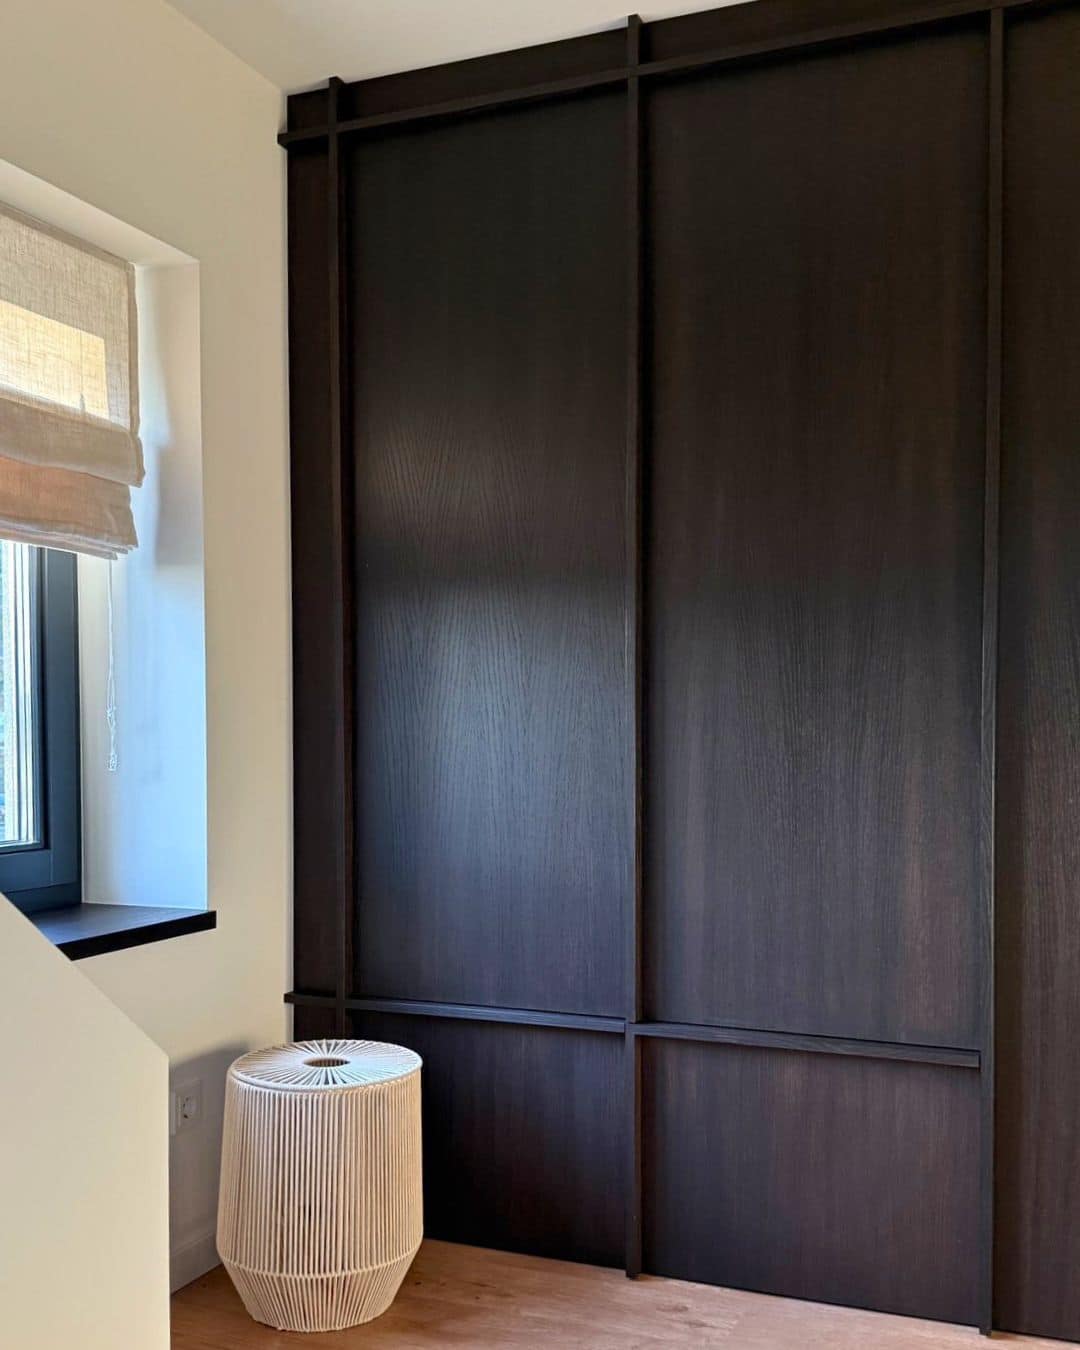
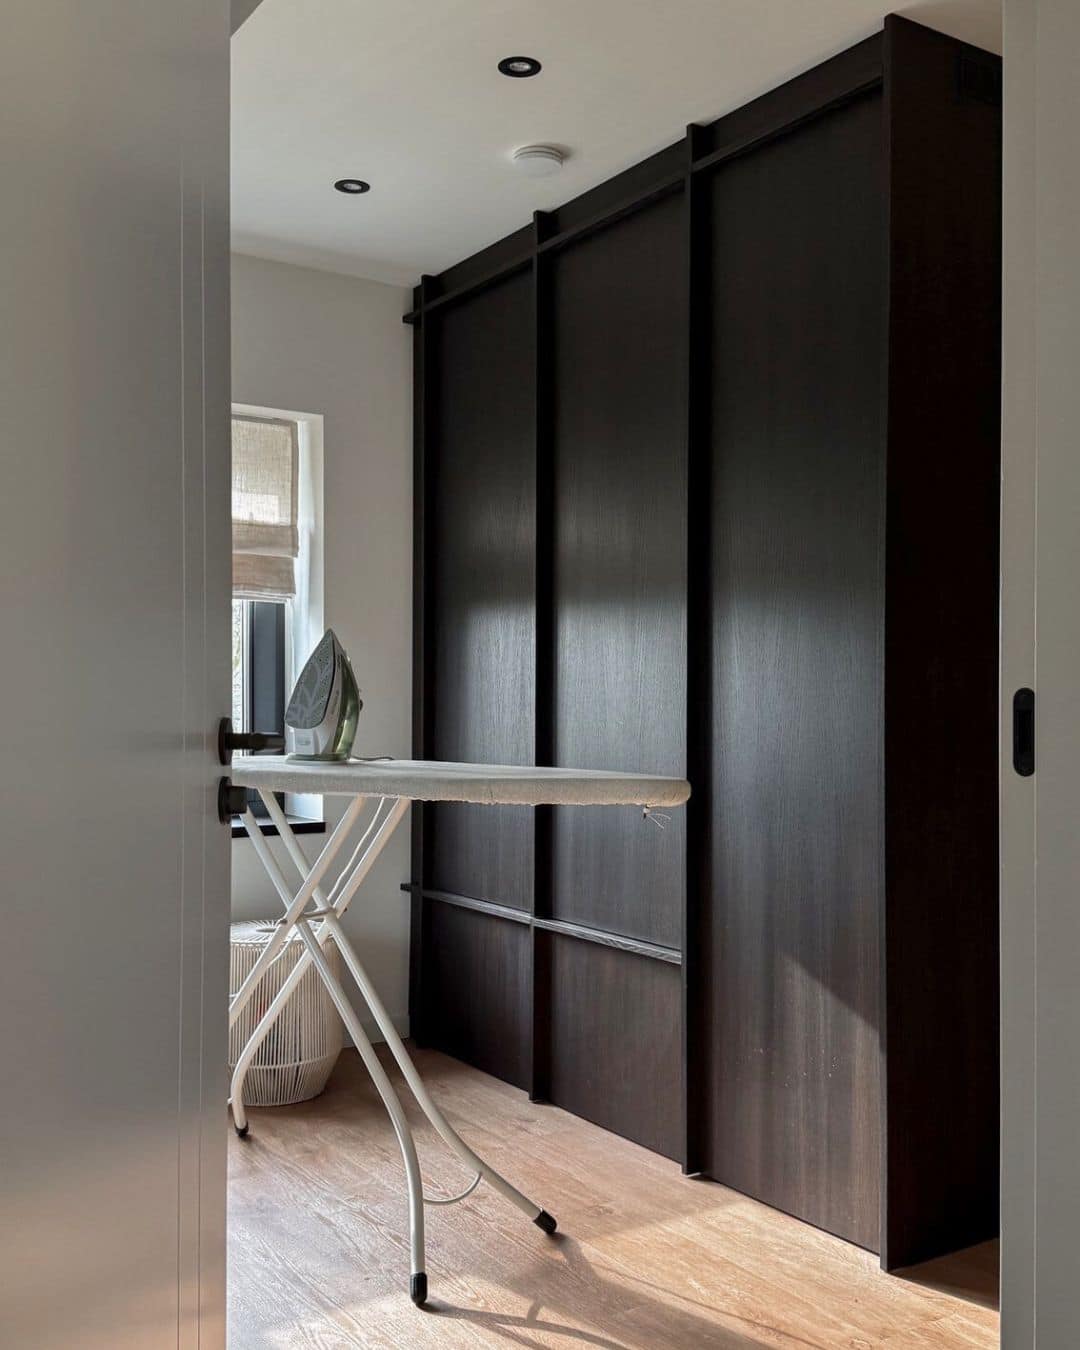
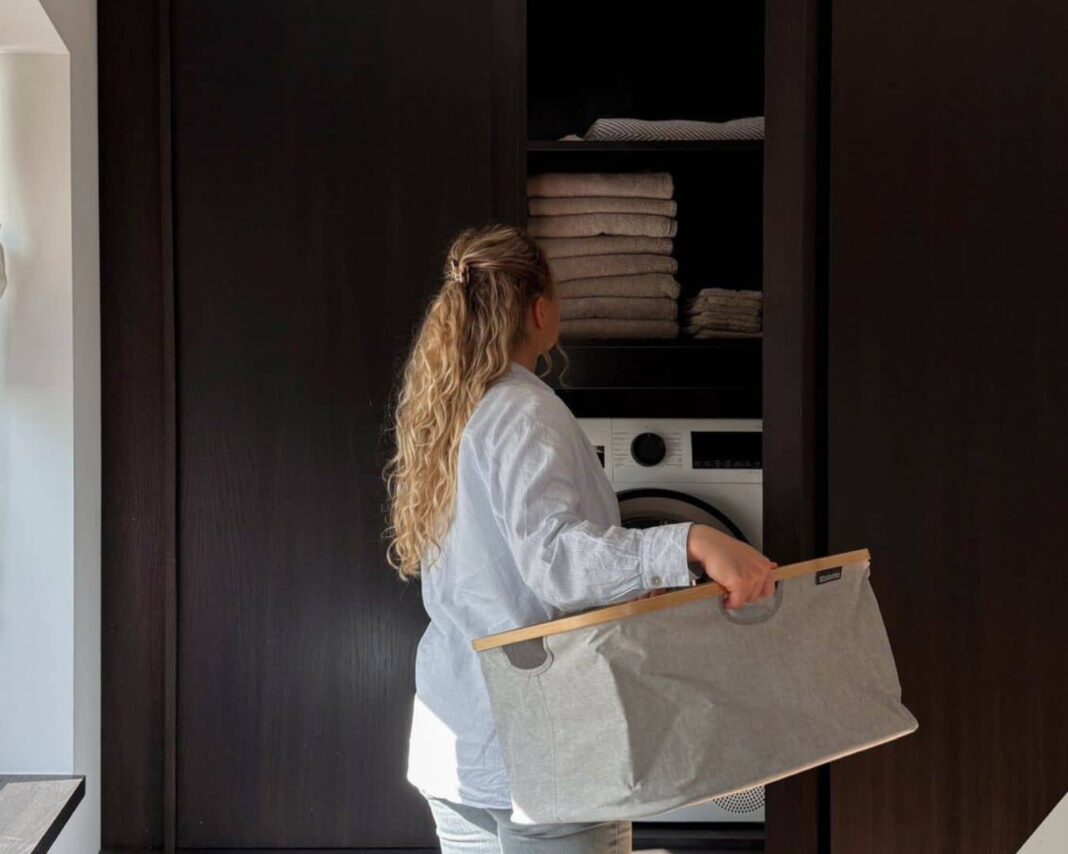
Well, Chris @_casa_seven, with the help of her talented father, Maatwerk interieur (@vermaet.interieur), created an amazing storage system that also encompasses the washing machine and dryer.
The DIY built-in washer dryer cabinet, which features IKEA METOD cabinets (SEKTION in the US), keeps the appliances out of sight but easily accessible, and it provides tons of valuable storage.
Admittedly, it’s a big project, and it comes in at around $1,500, but the payoff is priceless.
What You’ll Need
- 2 IKEA METOD high cabinets (60cm x 60cm x 220cm)
- 2 IKEA METOD base cabinets (60cm x 60cm x 80cm)
- 2 IKEA METOD top cabinets (60cm x 60cm x 40cm)
- 2 Two-packs IKEA UTRUSTA shelves (40cm x 60cm)
- 1 Two-pack IKEA UTRUSTA shelves (60cm x 60cm)
- 2 IKEA MAXIMERA drawers (60cm x 60cm)
- 6 Two-packs IKEA UTRUSTA 110-degree hinges
- 4 MDF oak veneer panels (2500 x 1240 x 19mm)
- 2 Rolls of oak veneer tape
- Color stain
- Colorless furniture lacquer (matte)
- Timber and screws for the frame and connecting cabinets
- Basics — tape measure, pencil, drill, screw gun, etc.
Washer Dryer Cabinet Makes Doing Laundry Look Good
1. Build a Base
Use timber and plywood to build out a sturdy platform for your unit. It’s a good idea to carefully plan and lay out your units first so you can get clear measurements for your base.
2. Assemble and Place the Cabinets
Put together the various METOD cabinets as needed. Set everything out from the wall, and make the shelves and side panel for where the appliances will go deeper. This way, the washer and dryer will fit completely into the unit.
A few notes from the hacker about assembling and placement:
- Don’t add the back to the cabinet for the washer and dryer. This needs to remain open for ventilation purposes. (She also mentions adding a ventilation grill into the doors later when one concerned commenter mentioned the heat would warp the veneer.)
- They used the top and bottom of the tall cabinet for the METOD base cabinet top.
- The long side of one of the tall cabinets becomes a divider inside the right tall cabinet. This creates the 20cm-wide compartment for the drying rack and ironing board.
- Use the other long side as the left side of the cabinet.
3. Make It Stable
Mount the pieces to the floor or wall and connect them to each other. On the two lower cabinets, add an extra plate (attach it with screws) for increased strength and stability to support the washer and dryer.
The hacker also mounted a board below the upper cabinets (the ones above the washer and dryer) to add extra stability.
4. Fill in the Spaces
Use the remaining side of one of the base cabinets to fill in the spaces between the upper and lower cabinets. Measure and cut to size as needed.
5. Make Doors and Door Handles

Cut MDF to size to create the doors and any necessary side panels. Attach the doors using the IKEA hinges.
Use narrow, mitered wood strips on the ends of the doors to use as handles. In the hacker’s built-in, the left door has no handle, but she says she can open it after opening the middle door. Then, you can add the remaining decorative strips onto the fixed panels for continuity.
6. Add Stain and Varnish
Apply the stain all over with a cloth or brush. Chris used a mix of 90% colonial and 10% black stain from Trae Lyx (@traelyx). After the stain dries, finish everything off with the clear lacquer.
Why the Hacker Loves This Laundry Cupboard (And You Will Too!)

Chris says that this hack was “truly one of the best choices.” They could streamline the space without worrying about laundry taking over.
She really loves the drawers underneath because they’re the perfect place to stash clothes if she can’t get to the laundry right away.
What’s your favorite thing about this hack? Chris designed the unit, and her father built it. Chris encourages anyone interested in recreating the unit to reach out to her father (@vermaet.interieur) with any questions regarding the specifics.
See how they did it and check out how Chris has set up some of her storage. Also, make sure to follow Chris @_casa_seven for more inspiring ideas and DIY transformations that you can use to make your home functional and beautiful.
Got an IKEA hack of your own? We want to see it! Submit your project here or tag us on Instagram @ikeahackersofficial.

